
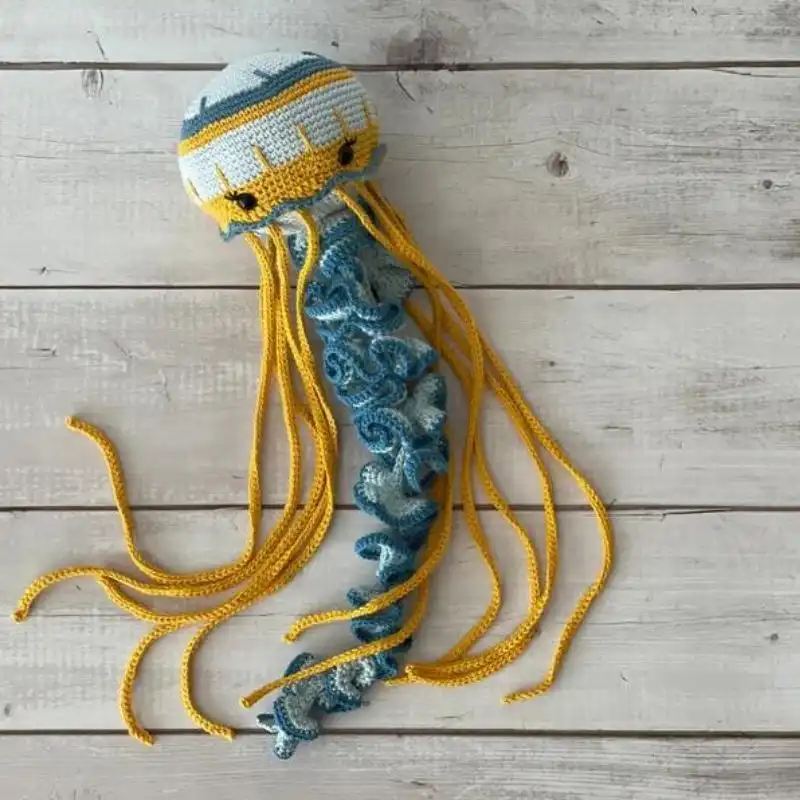
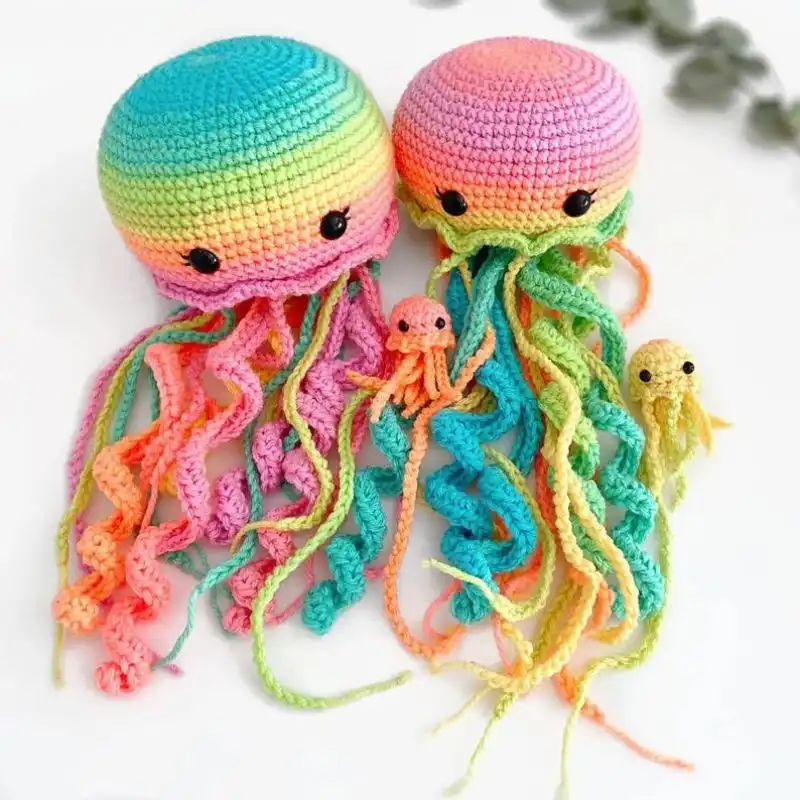
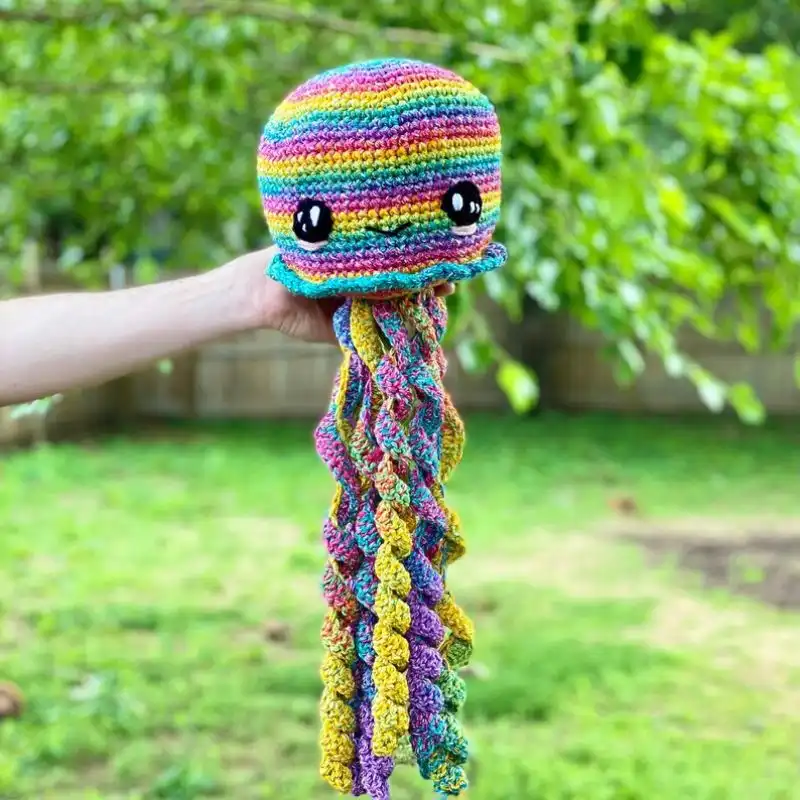
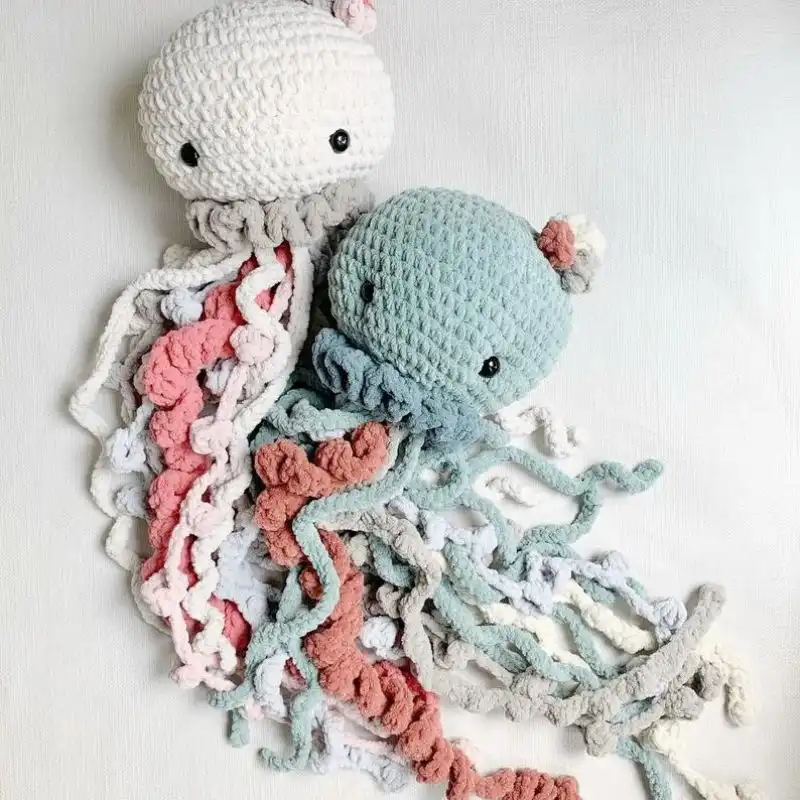
Ever felt the itch to dive into a whimsical world of crochet but find yourself swimming in a sea of mundane patterns? As an expert crocheter, I understand the struggle to find projects that spark joy and creativity. That’s why I’ve hooked together 25 delightful crochet jellyfish patterns that will bring fun to your crafting routine!

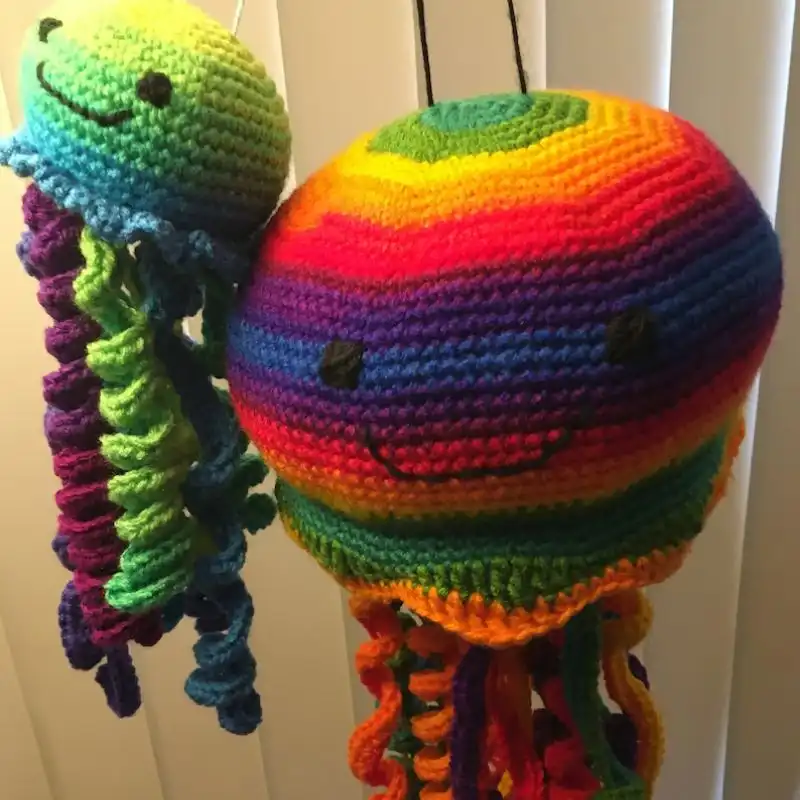
These patterns are not just adorable; they’re also a great way to flex your crochet skills. Whether you’re a seasoned pro or just starting, these designs are one of the easiest and most engaging ways to bring some of the ocean’s wonder into your home. From the vibrant colors to the playful tentacles, each pattern is a testament to the joy of crochet.
The most significant advantage of these patterns is their versatility. They can be whimsical nursery decorations, unique gifts, or even stress-relieving fidget toys.
By following these top picks, you’ll create something beautiful and enjoy the therapeutic benefits of crochet. So, grab your hooks, and let’s dive into this undersea adventure – it’s the best way to add a personal touch to your crochet collection!
Is It Worth Crocheting an Amigurumi Jellyfish?
Crocheting an Amigurumi jellyfish is undoubtedly a worthwhile endeavor, particularly for those passionate about handcrafted creations. This project melds the joy of crafting with the satisfaction of producing a charming, tactile piece.
It’s a delightful way to hone your crochet skills and offers the pleasure of creating a whimsical, soft toy, perfect for gifting or adding a unique touch to your décor.
The crocheting of these adorable sea creatures is therapeutic, often providing a relaxing escape from daily stresses. Crafting an Amigurumi jellyfish is rewarding, both as a creative journey and for the charming end product.
Various Stitches To Crochet A Jellyfish
Crocheting a jellyfish involves a delightful array of stitches, each contributing to the texture and form of the final creation. Here are some essential stitches and techniques you might use:
- Chain Stitch (ch): This is the most basic crochet stitch, often used to start projects. It forms a series of loops into which you can work other stitches and is typically used for the foundation row.
- Single crochet (sc): A fundamental stitch that’s simple yet versatile. It creates tight, dense fabric, perfect for the jellyfish’s body to keep the stuffing inside.
- Half Double crochet (hdc): A stitch slightly taller than the single crochet. It offers a bit more texture and flexibility, which adds dimension to the jellyfish’s parts.
- Double Crochet (DC): This stitch is taller and creates a looser fabric. It’s often used in the jellyfish’s tentacles to give them a flowy, delicate appearance.
- Slip stitch (sl st): Used to join stitches together without adding height. It is beneficial for finishing rounds or shaping certain jellyfish parts.
- Magic Ring (also known as Magic Circle): A technique to start crocheting in the round without leaving a hole in the center. It’s perfect for starting the jellyfish’s head to give it a neat, closed beginning.
- Increase (inc): This involves making two stitches in the same space to widen the crochet piece. It’s essential for shaping the body of the jellyfish.
- Decrease (Dec): The opposite of an increase, combining two stitches into one to narrow the crochet piece. Helpful in shaping the dome of the jellyfish’s body.
- Bobble Stitch: A textured stitch creates a raised bump, which can add an interesting tactile element to the jellyfish, mimicking the real creature’s texture.
- Picot Stitch: A decorative stitch often used in the edging. For a jellyfish, it can add detail to the edge of the body or tentacles.
How Long Should A Jellyfish Be?
The size of a crocheted jellyfish can vary widely depending on the pattern, yarn choice, and crochet hook size. These charming sea creatures can typically be crafted in various sizes, from minor, palm-sized versions to larger, more detailed ones. Here’s a breakdown of different sizes and their potential uses:
- Small (4-6 inches): These tiny jellyfish are perfect as keychains, bag charms, or small toys. They’re usually quick to make, ideal for beginners, or as a speedy project for more experienced crocheters.
- Medium (7-10 inches): A medium-sized jellyfish balances between being a manageable project and creating a substantial finished item. They’re great as children’s toys, nursery decorations, or unique gifts.
- Large (11-15 inches): Larger jellyfish are impressive and often used as standout decorative pieces. They require more time and yarn but can showcase intricate stitch work and color play.
- Extra Large (16 inches and above): These are more ambitious projects, often featuring detailed patterns and a variety of stitches. They can serve as statement pieces in home decor or as unique gifts.
The length of the tentacles also plays a crucial role in the overall size. Longer tentacles can have a dramatic effect and make the jellyfish appear larger and lifelike. However, if the jellyfish is intended for a baby or small child, it’s essential to consider safety and avoid excessively long tentacles that could pose a risk.
Essential Tools And Materials
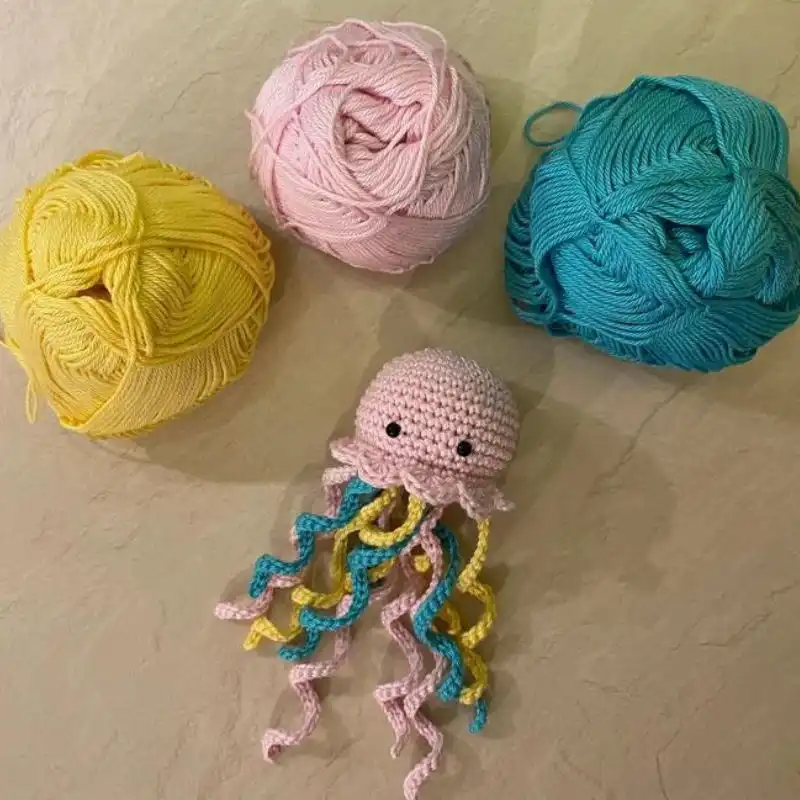
- Yarn: The type and color of yarn can vary depending on your preference and the desired look of the jellyfish. Cotton or acrylic yarns are typically used because of their durability and ease of maintenance. Opt for yarns in shades of blue, pink, or purple for a more realistic look. For a whimsical jellyfish, feel free to choose bright and varied colors.
- Crochet Hook: The hook size should match your yarn’s weight. A smaller hook will create tighter stitches, ideal for amigurumi projects like this, to prevent the stuffing from showing through. Standard hook sizes for this project range from 3.5 mm to 5 mm.
- Stuffing: Polyester fiberfill is commonly used to stuff amigurumi projects, giving them shape and a soft, squeezable feel.
- Stitch Marker: Since a jellyfish body is usually worked in the round, a stitch marker can help you keep track of the beginning of each round.
- Tapestry Needle: A large-eye needle is essential for sewing parts together and weaving in yarn ends.
- Scissors: A pair of sharp scissors is necessary for cutting yarn.
- Safety Eyes: These are optional but can add character to your jellyfish. They come in various sizes and can be attached to the jellyfish’s head. Alternatively, eyes can be embroidered if the jellyfish is intended for a young child.
- Pattern: A crochet jellyfish pattern will guide you through the process, especially if you’re a beginner. Patterns vary in complexity and style, so choose one that matches your skill level and desired outcome.
- Measuring Tape: Useful for measuring the length of your tentacles and ensuring consistency.
- Optional Embellishments: Feel free to add beads, ribbons, or embroidery to personalize your jellyfish.
Glossary Of Crochet Stitches And Techniques
- Chain Stitch (ch): The basic starting stitch for most crochet projects. Used to create the foundation chain.
- Slip stitch (sl st): A method to combine stitches without adding height, often used to finish a round or row.
- Single crochet (sc): A basic stitch that forms a tight and firm fabric, ideal for amigurumi and many other projects.
- Half Double crochet (hdc): A stitch halfway between a single crochet and a double crochet in height. It creates a slightly looser fabric than a single crochet.
- Double Crochet (dc): A taller stitch that forms a softer and more open fabric compared to single or half double crochet.
- Treble Crochet (tr): A taller stitch than the double crochet, creating a more open and airy fabric.
- Magic Ring or Magic Circle: A technique used to start crocheting in the round, allowing for a tightly closed center, perfect for amigurumi.
- Increasing (inc): A method to increase the number of stitches in a row or round, essential for shaping in crochet.
- Decreasing (dec): The opposite of increasing, it reduces the number of stitches, which helps shape or taper.
- Front Loop Only (FLO) and Back Loop Only (BLO): Techniques where you crochet into only one stitch loop, either the front or back, creating a ribbed texture or shaping.
- Yarn Over (yo): A fundamental movement in crochet where the yarn is wrapped over the crochet hook.
- Fasten Off: Finish the project, secure the last stitch, and cut the yarn.
- Weaving in Ends: The technique of hiding yarn tails in the finished work for a neat appearance.
- Cluster Stitches: A group of stitches worked together in the same space to create texture.
- Bobble, Popcorn, and Puff Stitches: Variations of cluster stitches that create a raised, textured effect.
- Gauge: The number of stitches and rows per inch is vital for ensuring the project size is correct.
- Blocking: The process of wetting or steaming a finished crochet piece, shaping it to the correct dimensions, and allowing it to dry.
- Picot: A small loop made at the edge of a work, used as a decorative element.
- Shell Stitch: A decorative stitch creating a shell or fan-like pattern, often used for edges or to create texture.
- Loop Stitch: A technique to create loops of yarn on the fabric’s surface for a furry or textured effect.
Understand Crochet Stitches & Techniques
As an avid crocheter, I’ve learned that understanding crochet stitches and techniques starts with practice and patience. Begin with basic stitches like the chain and single crochet, focusing on consistency in tension. Gradually, explore more complex stitches, paying close attention to instructions and diagrams.
I often use online tutorials for visual guidance. Remember, each stitch has its rhythm and purpose, whether forming a tight fabric with single crochets or creating texture with bobbles.
Experimentation is critical; feel free to unravel and retry. Crochet is an art of precision and creativity; with each stitch, your skill and understanding deepen.
Which Yarn Is Best For Crochet Jellyfish?
As someone who loves crocheting, especially whimsical projects like jellyfish, I’ve found that the choice of yarn can significantly impact the final product. For crochet jellyfish, here are some yarn options I’ve experimented with:
- Cotton Yarn: My go-to for amigurumi projects like jellyfish. It’s soft, durable, and gives a neat, defined stitch appearance. Cotton is hypoallergenic and washable, making it great for toys.
- Acrylic Yarn: A versatile and budget-friendly option. It’s widely available in various colors, perfect for creating vibrant jellyfish. Acrylic is also durable and easy to care for.
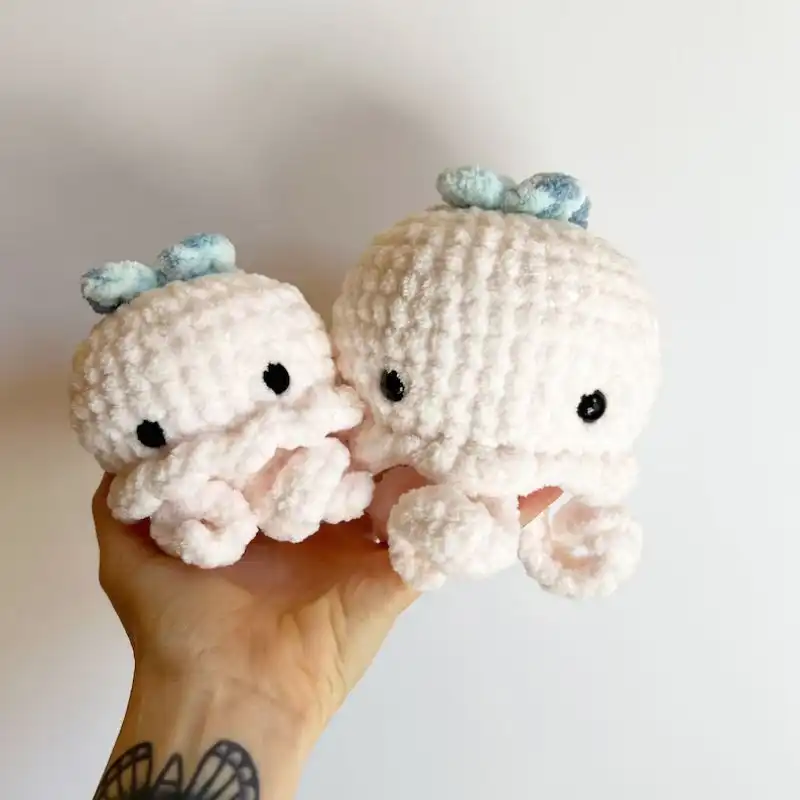
- Wool Yarn: Ideal for a warmer, fuzzier look. Wool can be more challenging for tighter amigurumi stitches, but it offers a lovely texture and is great for a softer, cuddlier jellyfish.
- Blend Yarns (Cotton-Acrylic or Wool-Acrylic): These combine the benefits of both types of fibers, like cotton’s softness and acrylic’s durability. They’re great for achieving a balance in texture and ease of care.
- Organic Yarns: Organic cotton or bamboo yarns are excellent for those who prefer eco-friendly options. They’re gentle on the skin and environmentally friendly, though typically more expensive.
- Chunky Yarns: Chunky yarns can be a fun choice for a more enormous, huggable jellyfish. They work up quickly and make for a bold, statement piece.
- Variegated and Multi-Colored Yarns: These add a unique touch with their color changes, giving the jellyfish a more dynamic appearance without switching yarns.
How Much Yarn Do I Need To Crochet A Jellyfish?
From my experience in crocheting various jellyfish, the amount of yarn needed can vary based on the size and thickness of the jellyfish.
For a standard medium-sized jellyfish, which is about 7-10 inches tall, I usually use around 50-100 yards of yarn. If I use a finer yarn, like lightweight cotton, I might need slightly more, around 100-150 yards, because it takes more yarn to achieve the size.
I might only need 50-70 yards of bulky yarn for larger, chunky jellyfish. It’s always a good idea to have extra yarn than the pattern calls for, just in case.
The tentacles and the jellyfish’s body don’t usually require a lot of yarn, but they do add up, especially if you like your jellyfish with long, flowing tentacles. So, a couple of skeins of your chosen yarn should be sufficient for a beautifully crafted jellyfish.
RELATED: 49 Fun Unicorn Crochet Patterns For Whimsical Wonders
Is It Beginner Friendly?
As an experienced crocheter, I can confidently say that crocheting a jellyfish is beginner-friendly. It’s an excellent project for those new to the craft because it typically involves basic stitches like the chain stitch, single crochet, and slip stitch. The simple, repetitive patterns help in practicing and mastering these foundational stitches.
Moreover, the small size of the project means it can be completed relatively quickly, providing a sense of accomplishment. Additionally, the flexible nature of the design allows for some errors without affecting the overall look, making it a forgiving project for beginners. In my opinion, it’s a perfect starting point for anyone new to crochet.
How To Crochet A Beginner-Friendly Jellyfish?
Skill Level: Beginner
Materials
- Soft, medium-weight yarn (like cotton or acrylic)
- Crochet hook (size 4.5-5.5 mm)
- Polyester fiberfill for stuffing
- Yarn needle
- Scissors
- Safety eyes or black yarn for eyes
- Stitch marker (optional)
Step-by-Step Instructions
Start with the Body (Magic Circle)
- Create a magic circle.
- Work 6 single crochets (sc) into the circle.
- Pull the tail to tighten the circle.
Increase Rounds
- Round 1: 2 sc in each stitch around (12 sc).
- Round 2: 1 sc in the next stitch, 2 sc in the next stitch; repeat from * to * around (18 sc).
- Continue increasing this pattern until the body is as wide as desired (usually 5-7 rounds).
Work Even
- Single crochet in each stitch around for several rounds until the body reaches your desired length.
Decrease Rounds
- Gradually decrease in the same pattern as your increases but in reverse (e.g., 1 sc in the next two stitches, then sc two together).
- Continue until the opening is small enough to start stuffing.
Stuff the Body
- Stuff the body with polyester fiberfill.
- Continue decreasing until the opening is closed.
- Fasten off and weave in the end.
Create the Tentacles
- Chain a length long enough for a tentacle (20-50 chains, depending on the desired length).
- Work 2 sc in each chain back to the start, creating a curled tentacle.
- Slip stitch to the bottom of the jellyfish body.
- Repeat for as many tentacles as desired (usually 6-8).
Add Eyes
- Attach safety eyes between the increased rounds or embroider eyes with black yarn.
Final Touches
- Weave in any loose ends.
- Adjust the stuffing if needed.
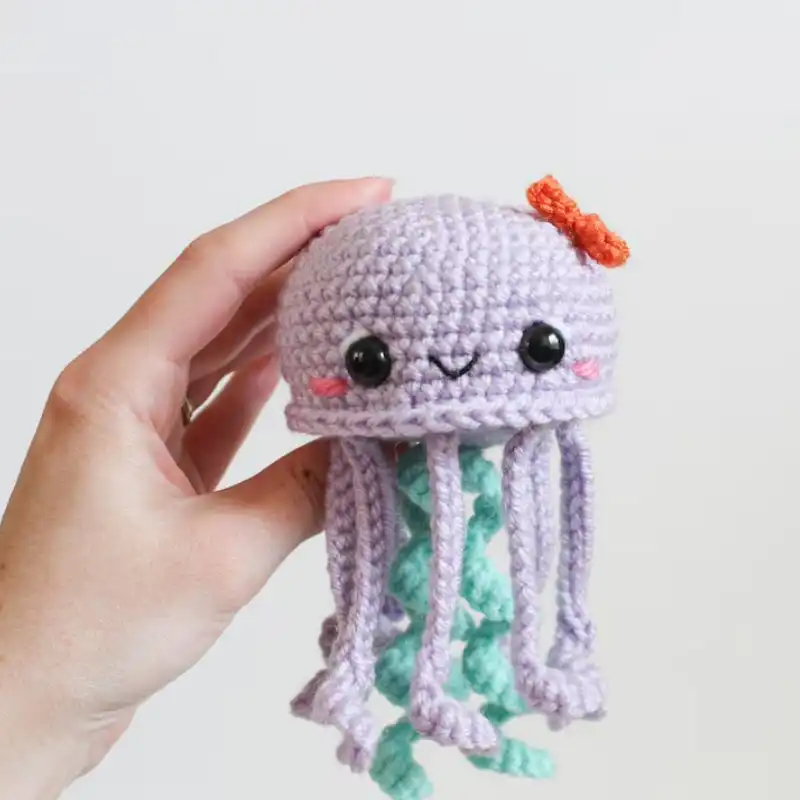
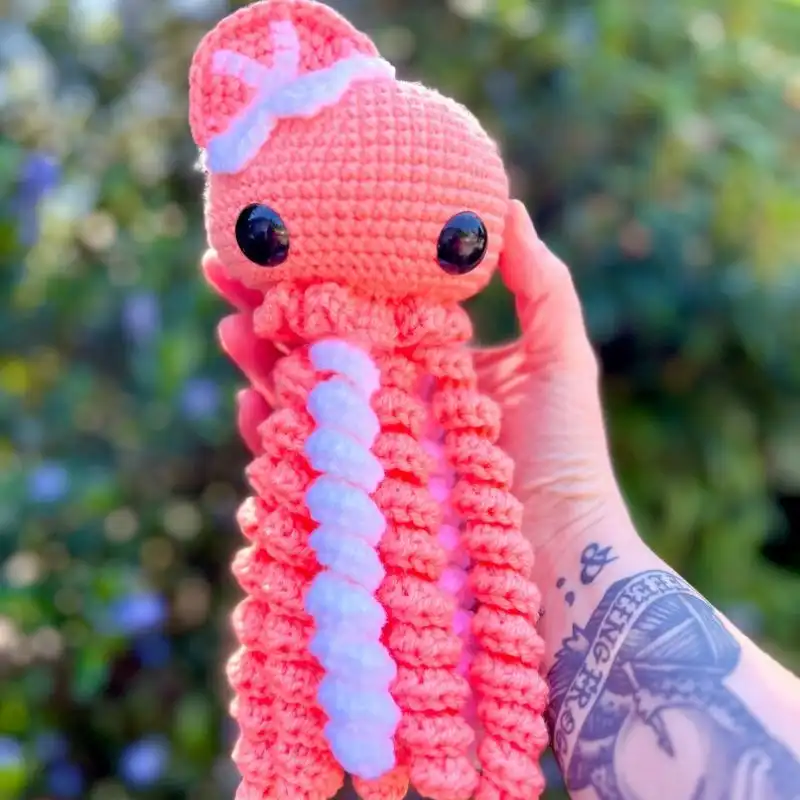
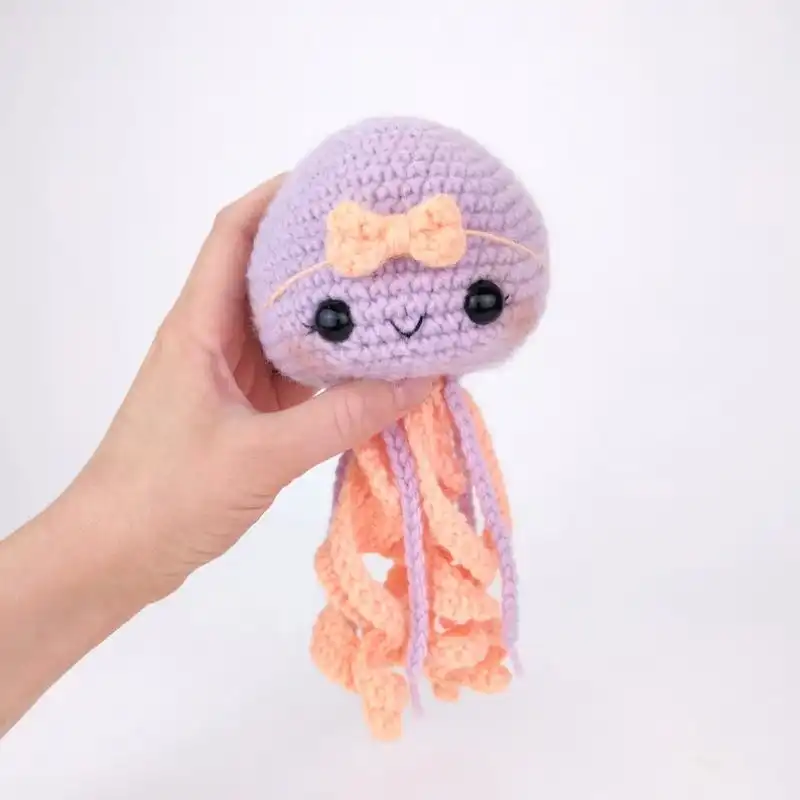
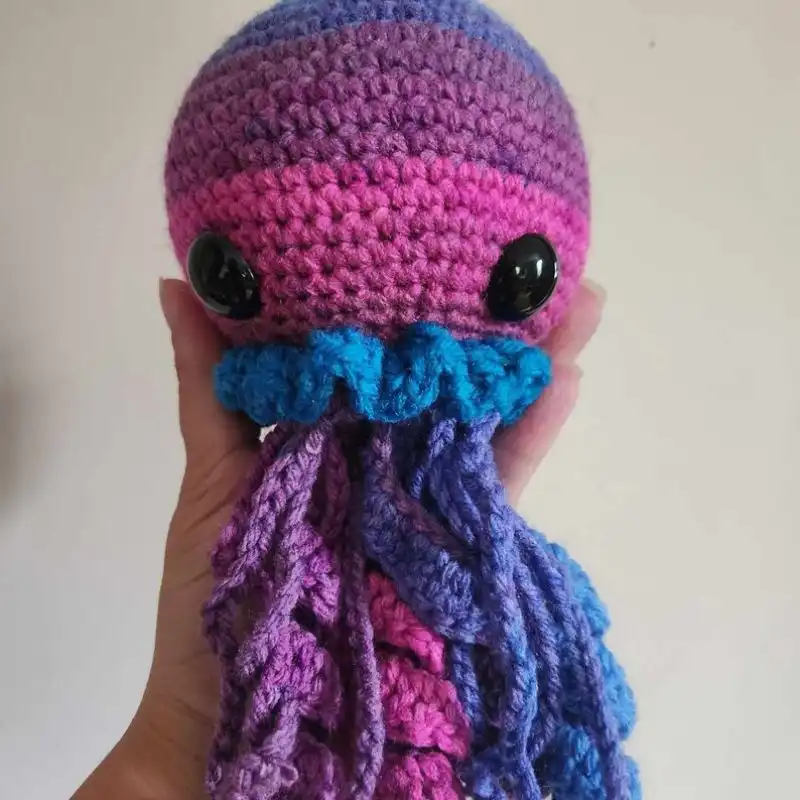
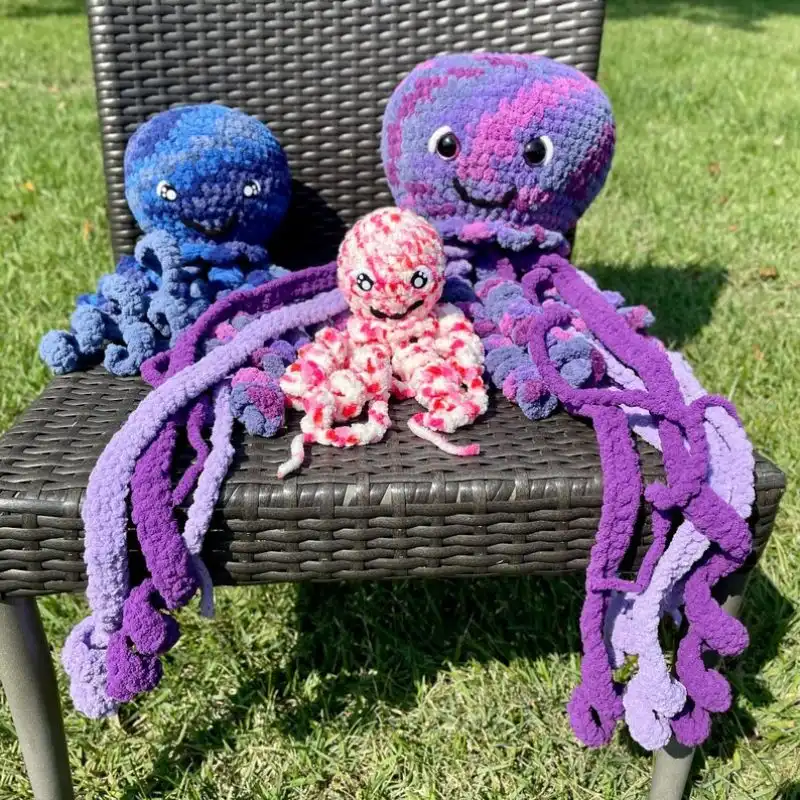
25 Jellyfish Crochet Patterns
1. Peanut Butter Jellyfish
Dive into the whimsical world of amigurumi with the Peanut Butter Jellyfish crochet pattern. This playful creation combines the charm of a jellyfish with the delightful twist of peanut butter colors. Perfect for adding a touch of sweetness to your crochet collection, this jellyfish is sure to make a splash!
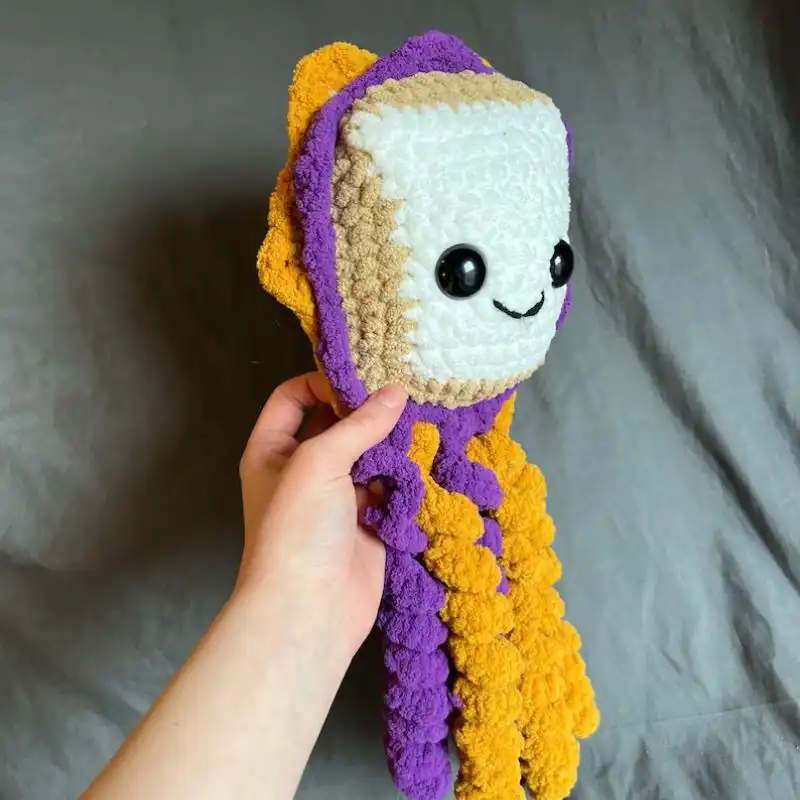
Suggested Yarn: Red Heart Super Saver
Difficulty Level: Beginner
Yarn Weight: Worsted
Crochet Hook: 4.0 mm (G)
2. Jerry The Jellyfish
Meet Jerry, the lovable and huggable jellyfish! The Jerry The Jellyfish crochet pattern offers a delightful amigurumi experience, allowing you to create a cute and cuddly jellyfish companion. With its cheerful demeanor and vibrant colors, Jerry will become a cherished addition to your handmade creations.
Suggested Yarn: Lion Brand Vanna's Choice
Difficulty Level: Intermediate
Yarn Weight: Medium (4)
Crochet Hook: 5.0 mm (H)
3. Plush Jellyfish Pattern
Immerse yourself in crafting plush toys with the Plush Jellyfish Pattern. This comprehensive crochet pattern guides you through creating a soft and squishy jellyfish, perfect for snuggles or as a charming decor piece. Dive into the world of plush crochet with this delightful pattern.
Suggested Yarn: Bernat Blanket Yarn
Difficulty Level: Intermediate
Yarn Weight: Super Bulky
Crochet Hook: 9.0 mm (M/N)
4. Amigurumi Jellyfish
Add a touch of magic to your amigurumi collection with the Amigurumi Jellyfish crochet pattern. This whimsical creation features the unique charm of amigurumi, allowing you to craft a jellyfish friend with adorable tentacles and vibrant colors. Get ready to bring a splash of cuteness into your crochet projects!
Suggested Yarn: Scheepjes Catona
Difficulty Level: Intermediate
Yarn Weight: Fingering (1)
Crochet Hook: 3.0 mm (C)
5. The Sea Nettle Jellyfish
Introducing Jag, the graceful Sea Nettle Jellyfish! The Jag The Sea Nettle Jellyfish crochet pattern brings the beauty of the ocean to life with intricate details and a lifelike appearance. Create your aquatic wonder with this enchanting amigurumi pattern.
Suggested Yarn: Paintbox Yarns Simply DK
Difficulty Level: Advanced
Yarn Weight: Light (3)
Crochet Hook: 4.0 mm (G)
6. Melinda And Joanna The Jellyfish
Double the fun with Melinda and Joanna, the adorable jellyfish duo! The Melinda And Joanna The Jellyfish crochet pattern provides instructions for crafting two charming jellyfish friends. With their cheerful expressions and complementary colors, these amigurumi jellyfish make for a delightful pair.
Suggested Yarn: Yarn Bee Soft Secret
Difficulty Level: Beginner
Yarn Weight: Aran (4)
Crochet Hook: 5.5 mm (I-9)
7. Realistic Jellyfish
Capture the essence of the deep sea with the Realistic Jellyfish crochet pattern. This unique design aims for a lifelike representation, featuring detailed tentacles and a realistic color palette. Dive into the challenge of creating a crochet jellyfish that mirrors the beauty of its natural counterpart.
Suggested Yarn: Scheepjes Stonewashed
Difficulty Level: Intermediate
Yarn Weight: Sport (2)
Crochet Hook: 3.5 mm (E)
8. No Sew Crochet Jellyfish
Enjoy a hassle-free crafting experience with the No Sew Crochet Jellyfish pattern. This innovative design eliminates the need for sewing, providing a seamless and straightforward approach to creating a charming jellyfish. Dive into the joy of crochet without the fuss of additional assembly.
Suggested Yarn: Red Heart Super Saver
Difficulty Level: Beginner
Yarn Weight: Worsted
Crochet Hook: 4.0 mm (G)
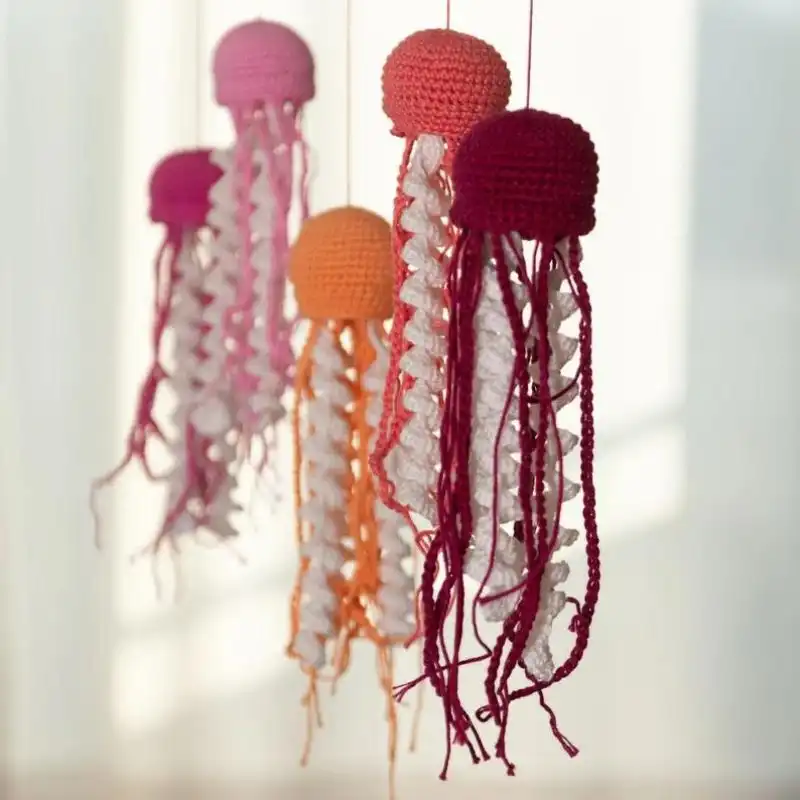
9. Jellyfish 4-In-1 Set
Explore variety with the Jellyfish 4-In-1 Set crochet pattern. This versatile pattern offers instructions to create four distinct jellyfish designs, each with its personality and style. Expand your crochet skills while building a charming collection of jellyfish companions.
Suggested Yarn: Lion Brand Ferris Wheel
Difficulty Level: Advanced
Yarn Weight: Worsted
Crochet Hook: 5.5 mm (I-9)
10. Jellyfish Pillow
Bring a whimsy to your home decor with the Jellyfish Pillow crochet pattern. This creative design transforms the charm of a jellyfish into a cozy and decorative pillow. With its unique shape and vibrant colors, this crochet project is a delightful addition to any living space.
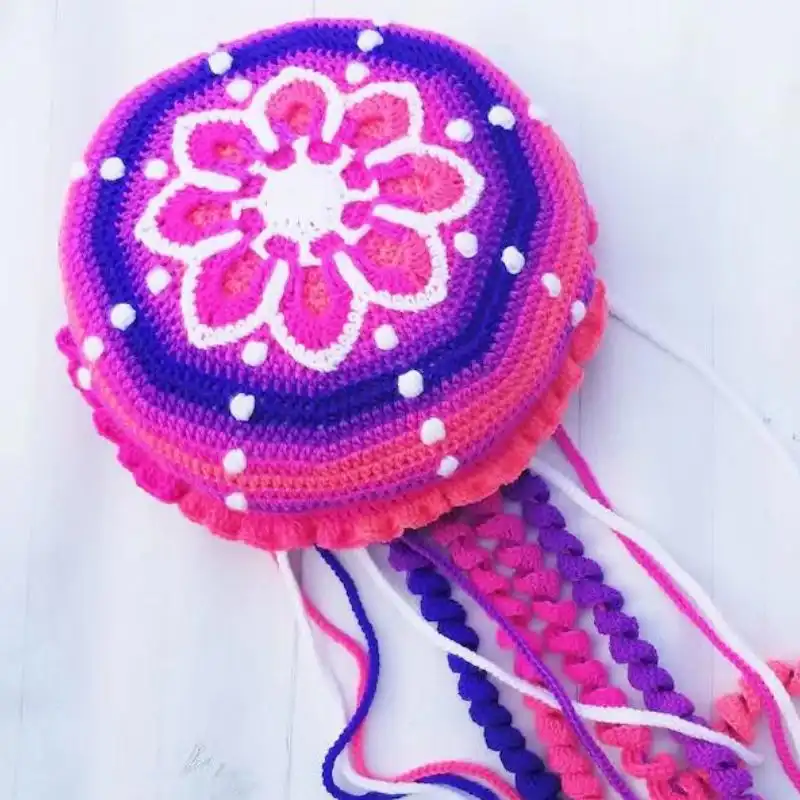
Suggested Yarn: Bernat Blanket Yarn
Difficulty Level: Intermediate
Yarn Weight: Super Bulky
Crochet Hook: 10.0 mm (N/P)
11. Halloween Amigurumi Jellyfish
Celebrate the Spooktacular season with the Halloween Amigurumi Jellyfish crochet pattern. This festive design combines the charm of amigurumi with a Halloween twist, featuring cute and creepy details that make it a perfect addition to your holiday decor or as a charming gift for Halloween enthusiasts.
Suggested Yarn: Red Heart Super Saver
Difficulty Level: Beginner
Yarn Weight: Worsted
Crochet Hook: 4.0 mm (G)
12. Witch Jellyfish
Cast a spell of crochet magic with the Witch Jellyfish pattern. This whimsical creation combines the enchantment of a witch’s hat with the charm of a jellyfish, resulting in a unique and playful amigurumi. Perfect for those who love a touch of magic in their crochet projects!
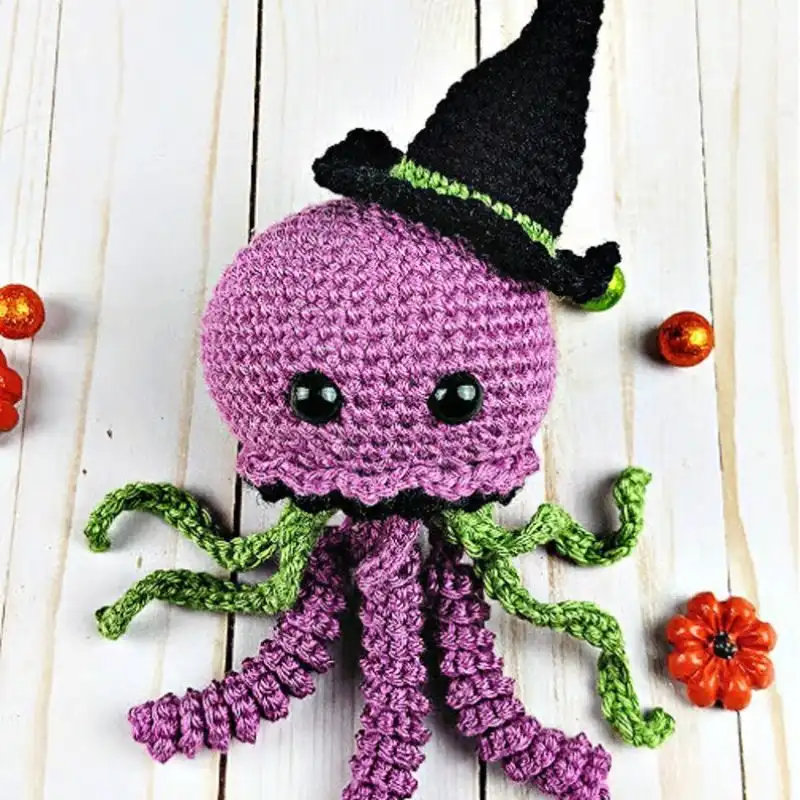
Suggested Yarn: Caron Simply Soft
Difficulty Level: Intermediate
Yarn Weight: Medium (4)
Crochet Hook: 5.0 mm (H)
13. Rainbow The Amigurumi Jellyfish
Immerse yourself in a burst of colors with Rainbow, the Amigurumi Jellyfish. This delightful crochet pattern combines the charm of amigurumi with a vibrant rainbow color palette, creating a cheerful and whimsical jellyfish companion that’s perfect for bringing joy to your crafting collection.
Suggested Yarn: Scheepjes Catona
Difficulty Level: Intermediate
Yarn Weight: Fingering (1)
Crochet Hook: 3.0 mm (C)
14. Giant Jellyfish
Make a statement with the Giant Jellyfish crochet pattern. This oversized creation brings a touch of whimsy to your amigurumi collection, showcasing the beauty of a giant jellyfish with its flowing tentacles and eye-catching details. Dive into a larger-than-life crochet project with this enchanting pattern.
Suggested Yarn: Bernat Blanket Yarn
Difficulty Level: Advanced
Yarn Weight: Super Bulky
Crochet Hook: 15.0 mm (P/Q)
15. Jayla The Jellyfish
Meet Jayla, the enchanting sea creature brought to life with the Jayla Jellyfish crochet pattern. With its adorable features and graceful tentacles, Jayla is the perfect companion for those looking to add a touch of aquatic magic to their amigurumi creations.
Suggested Yarn: Lion Brand Vanna's Choice
Difficulty Level: Intermediate
Yarn Weight: Medium (4)
Crochet Hook: 4.5 mm (7)
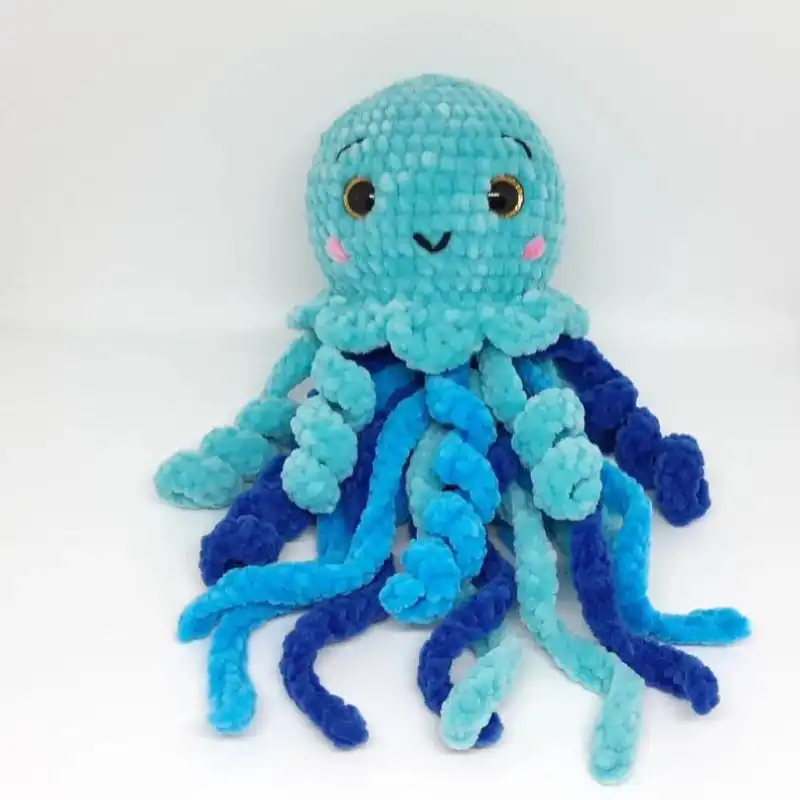
16. Monday The Moon Jellyfish
Embrace the serene beauty of the ocean with Monday, the Moon Jellyfish. This crochet pattern captures the elegance of a moon jellyfish with its translucent appearance and flowing tentacles. Create your piece of the sea with this captivating amigurumi project.
Suggested Yarn: Red Heart Super Saver
Difficulty Level: Beginner
Yarn Weight: Worsted
Crochet Hook: 5.0 mm (H)
17. Mochi The Jellyfish
Embrace the serene beauty of the ocean with Monday, the Moon Jellyfish. This crochet pattern captures the elegance of a moon jellyfish with its translucent appearance and flowing tentacles. Create your piece of the sea with this captivating amigurumi project.
Suggested Yarn: Scheepjes Sweet Treat
Difficulty Level: Beginner
Yarn Weight: Lace (0)
Crochet Hook: 2.0 mm (B)
18. Ice Cream Jellyfish
Indulge in a deliciously delightful amigurumi project with the Ice Cream Jellyfish crochet pattern. This creative design combines the notion of a jellyfish with the charm of an ice cream cone, resulting in a unique and playful creation that’s sure to sweeten up your crochet collection.
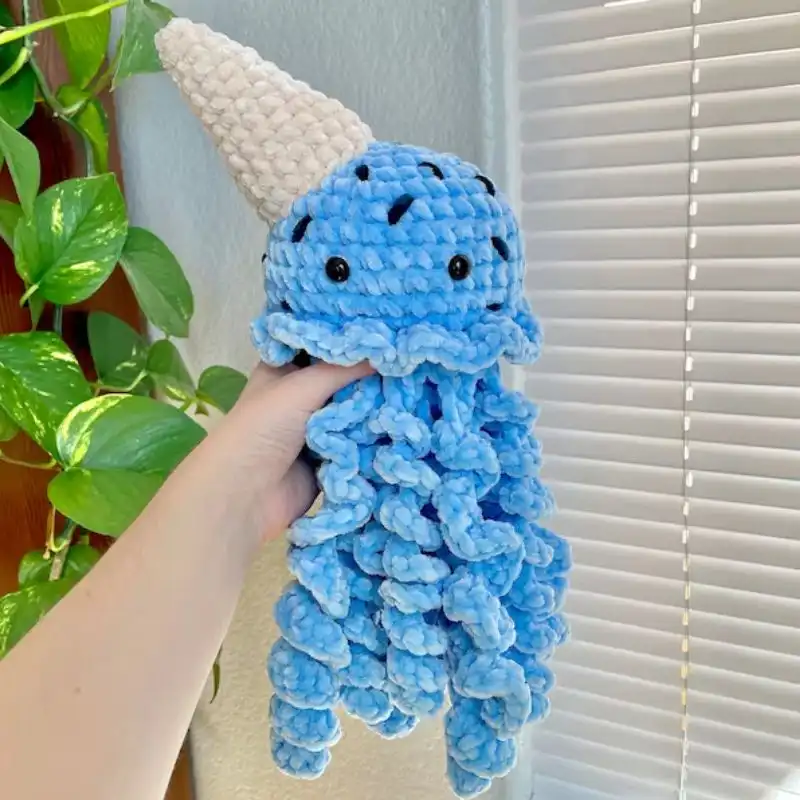
Suggested Yarn: Lion Brand Mandala
Difficulty Level: Intermediate
Yarn Weight: Light (3)
Crochet Hook: 4.0 mm (G)
19. Covered Strawberry Jellyfish
Bring a taste of summer to your crafting with the Covered Strawberry Jellyfish crochet pattern. This whimsical creation combines the allure of a jellyfish with the deliciousness of a covered strawberry. Create a charming and unique amigurumi friend that adds a touch of sweetness to your projects.
Suggested Yarn: Red Heart Super Saver
Difficulty Level: Advanced
Yarn Weight: Worsted
Crochet Hook: 5.5 mm (I-9)
20. Gingerbread Decor Jellyfish
Add a touch of holiday magic to your home decor with the Gingerbread Decor Jellyfish crochet pattern. This festive creation combines the notion of a jellyfish with the charm of gingerbread decor, creating a unique and delightful addition to your seasonal crafting projects.
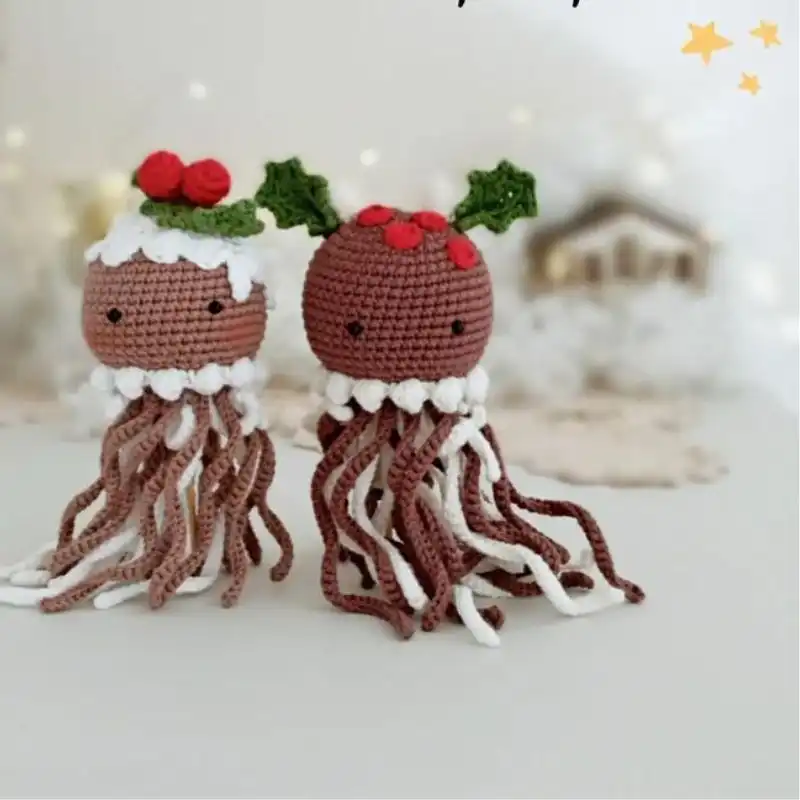
Suggested Yarn: Stylecraft Special DK
Difficulty Level: Intermediate
Yarn Weight: Light (3)
Crochet Hook: 4.0 mm (G)
21. Dessert Jellyfish
Satisfy your sweet tooth with the Dessert Jellyfish crochet pattern. This imaginative creation combines the charm of a jellyfish with the deliciousness of dessert, resulting in a whimsical and playful amigurumi project. Indulge in the joy of crafting with this delightful pattern.
Suggested Yarn: Bernat Handicrafter Cotton
Difficulty Level: Intermediate
Yarn Weight: Worsted
Crochet Hook: 5.0 mm (H)
22. June The Jellyfish
Welcome June, the enchanting sea creature, into your amigurumi collection with this crochet pattern. With its graceful tentacles and vibrant colors, June is a delightful addition for those who love creating whimsical and playful crochet companions.
Suggested Yarn: Yarn Bee Soft & Sleek Chunky
Difficulty Level: Beginner
Yarn Weight: Bulky (5)
Crochet Hook: 6.0 mm (J)
23. Jellybean The Jellyfish
Dive into a world of sweetness with Jellybean, the Jellyfish. This amigurumi crochet pattern captures the charm of a jellyfish with the playful twist of a jellybean-inspired color palette. Create a lovable and huggable friend that adds a touch of joy to your crafting endeavors.
Suggested Yarn: Caron Simply Soft
Difficulty Level: Beginner
Yarn Weight: Medium (4)
Crochet Hook: 5.0 mm (H)
24. Cutie Jellyfish
Embrace the cuteness of the Cutie Jellyfish crochet pattern. This adorable amigurumi creation features a charming jellyfish with a sweet and endearing expression. Perfect for those who enjoy crafting lovable companions, Cutie Jellyfish is sure to steal your heart.
Suggested Yarn: Red Heart Super Saver
Difficulty Level: Intermediate
Yarn Weight: Worsted
Crochet Hook: 4.0 mm (G)
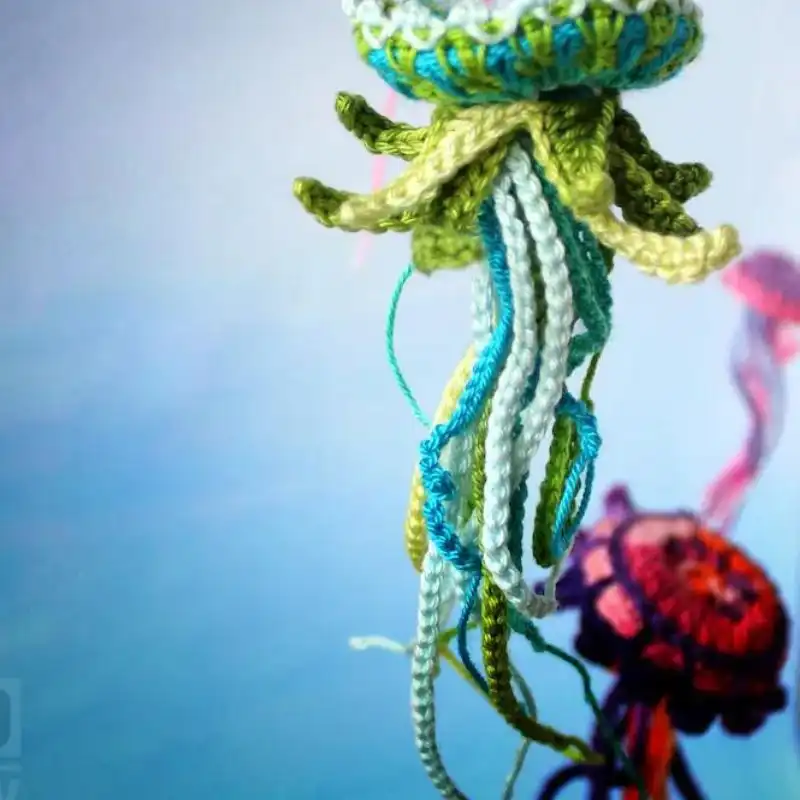
25. Bloom Jellyfish
Explore the beauty of the deep sea with the Bloom Jellyfish crochet pattern. This imaginative design captures the elegance of a blooming flower within the tendrils of a jellyfish. Create a unique and enchanting amigurumi friend that brings a touch of nature to your crafting projects.
Suggested Yarn: Scheepjes Whirl
Difficulty Level: Intermediate
Yarn Weight: Fingering (1)
Crochet Hook: 3.5 mm (E)
Do’s & Don’ts To Crochet A Safe Jellyfish
Do’s
- Use Safe Materials: opt for baby-safe yarn like soft cotton or hypoallergenic acrylic. Avoid wool if there’s a risk of allergies.
- Tight Stitches: Ensure your stitches are tight enough to prevent stuffing from escaping, which could pose a choking hazard.
- Secure Attachments: If adding eyes or other decorations, ensure they are securely attached. Consider embroidering the eyes and features for utmost safety instead of using plastic components.
- Soft Stuffing: Use a small amount of non-toxic, fire-retardant polyester fibrefill for stuffing. It should be enough to maintain shape but not too firm.
- Washable: Make sure the yarn and finished toy are washable. Babies often put toys in their mouths, so easy cleaning is essential.
- Test for Durability: Gently pull on appendages or attachments to ensure they’re firmly secured and can withstand a baby’s strength.
- Appropriate Size: Ensure the jellyfish is not too small to be a choking hazard. It should be large enough not to fit entirely in a baby’s mouth.
Don’ts
- Avoid Small, Loose Parts: Do not use beads, buttons, or small detachable items in the toy.
- Don’t Use Thin Yarn for Tentacles: Avoid using thin or fine yarn for the tentacles, as they can be a strangulation hazard. Instead, opt for thicker, shorter tentacles.
- Avoid Stiff or Scratchy Yarn: Steer clear of stiff or scratchy yarns as they can be uncomfortable for delicate baby skin.
- Don’t Overstuff: Overstuffing can make the toy too firm for a baby, making it less cuddly and more difficult for small hands to grasp.
- No Long Straps or Loops: Avoid creating long straps or loops with the yarn, as these can be a strangulation hazard.
- Don’t Use Heavy Yarn: Avoid heavy or bulky yarn, as it might be too hard for a baby to handle.
- Avoid Fragile or Sharp Decorations: Do not attach anything that can break off or has sharp edges.
Tips & Tricks To Avoid Crochet Mistakes
Crocheting a perfect jellyfish can be delightful yet challenging, especially for beginners. Here are some tips and tricks to avoid common crochet mistakes:
- Start with a Gauge Swatch: If size matters, make a gauge swatch to ensure your stitches match the pattern’s recommendations. It will help your jellyfish turn out the intended size.
- Maintain Consistent Tension: Keep your yarn tension consistent. Uneven tension can lead to irregular stitches and a misshapen jellyfish. If your tension varies, practice on a small swatch until you find a rhythm.
- Count Your Stitches: In amigurumi, losing or gaining a stitch can throw off the entire pattern. Count stitches at the end of each round to ensure accuracy.
- Use Stitch Markers: Place a stitch marker at the beginning of each round. Losing track in continuous rounds is easy, and a marker helps keep your place.
- Choose the Right Hook Size: If your stitches are too tight and stiff to work into, try a larger hook size. Conversely, if they’re too loose, go smaller.
- Secure the Magic Ring: When starting with a magic ring, close it tightly and secure it well to avoid unraveling later.
- Stuff Evenly: When stuffing your jellyfish, evenly distribute the stuffing. Overstuffing can distort the shape, while understuffing may not give the desired form.
- Make Tight Tentacles: When crocheting the tentacles, make sure they’re tight enough so they don’t stretch out of shape with handling.
- Check for Holes: Especially after stuffing, check for any holes where the stuffing might come out and address them by adding more stitches or using a smaller hook size.
- Practice New Stitches First: If your pattern calls for a stitch you’re unfamiliar with, practice it separately before adding it to your project.
- Take Breaks: Crocheting for long periods can lead to hand strain and tension errors. Take regular breaks to rest your hands.
- Read the pattern Thoroughly: Before starting, read through the entire pattern to understand the steps. It helps anticipate what’s coming next and understand the overall structure.
- Use Quality Yarn: Choose a good quality yarn that’s easy to work with and suitable for the project. Splitting or fraying yarn can make crocheting more difficult.
- Weave in Ends Securely: Make sure all ends are woven securely to avoid unraveling later.
- Enjoy the Process: Lastly, enjoy your crochet journey! If you make a mistake, remember it’s part of the learning process. Unravel, correct, and keep going.
How To Block The Crochet Jellyfish?
Blocking is an essential finishing step in crochet, especially for amigurumi projects like a jellyfish, to give it the desired shape and a professional look. Here’s how to block your crochet jellyfish step-by-step:
Prepare Your Blocking Station
- Lay out a blocking mat or a clean towel on a flat surface.
- Any foam board or padded surface will do if you don’t have a blocking mat.
Mix a Blocking Solution (Optional): If desired, prepare a mild blocking solution in a spray bottle by mixing a gentle, no-rinse wool wash with lukewarm water.
Pin the Jellyfish
- Place your jellyfish on the mat.
- Gently shape the jellyfish with your hands to its desired form.
- If your jellyfish has tentacles, pin them down in the shape you want them to dry. Use rust-proof pins for this.
Dampen the Jellyfish
- If using a blocking solution, lightly spray your jellyfish until it is damp but not soaking.
- If you prefer not to use a solution, lightly steam the jellyfish with a steam iron. Hold the iron a few inches away from the jellyfish and steam lightly. Do not let the iron touch the crochet work.
Allow to Dry: Leave the jellyfish flat to air dry completely. Depending on the yarn type and environmental conditions, it can take several hours to a day.
Unpin and Fluff
- Once the jellyfish is completely dry, carefully remove the pins.
- Gently fluff and shape the jellyfish with your hands to give it a finished look.
Final Check: Give your jellyfish a final inspection to ensure it’s holding its desired shape.
RELATED: 35 Wondering Crochet Mouse Patterns And Family Patterns
Suggestions To Add Style & Personal Touch
Adding style and personal touches to a crochet jellyfish can transform it from a simple craft project into a unique and charming creation. Here are various suggestions to infuse your jellyfish with personality:
- Vibrant Color Choices: Don’t shy away from bold colors. Use variegated yarns for a multi-colored effect, or choose bright, eye-catching colors to make your jellyfish stand out.
- Ombre Effect: Create an ombre effect by using shades of the same color, transitioning from dark at the top to light at the bottom or vice versa.
- Textured Yarns: Experiment with textured yarns like bouclé, tinsel, or eyelash yarn for the tentacles to add a unique feel.
- Embellishments: Sew on beads, sequins, or tiny buttons to add sparkle. It is especially effective on the jellyfish’s cap or along the tentacles.
- Embroidery: Add embroidered details such as facial features, patterns, or initials to personalize your jellyfish.
- Ribbon or Lace: Tie a ribbon or a piece of lace around the neck of the jellyfish for a decorative touch.
- Different Tentacle Styles: Play around with the length and style of the tentacles. Consider curly, wavy, straight tentacles, or mix different styles for a whimsical look.
- Felt Details: Use felt to create cute accessories like hats, bows, or even a tiny mouth. Felt shapes can be easily glued or stitched on.
- Glow-in-the-Dark Yarn: For a fun twist, use glow-in-the-dark yarn for all or part of your jellyfish. It can be a delightful surprise, especially in children’s rooms.
- Two-Tone Body: Crochet the top and bottom halves of the jellyfish in different colors or stitch patterns for a two-tone effect.
- Fragrance: Insert a small sachet of potpourri or a scented pouch inside the stuffing for a pleasantly scented jellyfish.
- Crochet Accessories: Add tiny crocheted hats, scarves, or a monocle to give your jellyfish character.
- Hanging Loop: Attach a loop at the top to hang the jellyfish as a mobile or decoration.
- Interactive Elements: For children, consider adding crinkle paper inside the tentacles or a small bell inside the body for a sensory experience.
- Themed Jellyfish: Create a themed jellyfish, like a mermaid-jellyfish hybrid or a pirate jellyfish, complete with appropriate attire and accessories.
Wash & Care Instructions
Proper washing and care are crucial for maintaining the longevity and durability of your crocheted items, especially delicate projects like jellyfish. Here’s a guide to ensure your crochet jellyfish stays in excellent condition:
Check Yarn Labels: Before washing, always check the yarn label for specific care instructions. Different fibers may have different requirements.
Hand Washing
- Fill a basin with lukewarm water and add a gentle, non-abrasive detergent.
- Submerge the jellyfish, gently squeezing the suds through the fibers without rubbing or wringing, as this can cause stretching or felting.
- Rinse thoroughly with clean, lukewarm water, gently squeezing out the excess water.
Machine Washing (If Applicable)
- If the yarn is machine washable, place the jellyfish in a mesh laundry bag to protect it.
- Use a gentle cycle with cold water and a mild detergent.
- Avoid using fabric softeners as they can degrade the fibers over time.
Drying
- Gently press the jellyfish between clean towels to remove excess water. Avoid wringing or twisting.
- Reshape the jellyfish while it’s damp and lay it flat on a dry towel to air dry. Avoid hanging, as this can distort its shape.
- Please do not use a tumble dryer unless the yarn label says it’s safe.
Avoid Direct Sunlight: Keep the jellyfish out of direct sunlight when drying and storing to prevent colors from fading.
Spot Cleaning
- Use a damp cloth with mild detergent for minor stains and gently dab the affected area.
- Rinse with a cloth dipped in clean water and blot dry.
Storing
- Store in a cool, dry place.
- Avoid storing in plastic bags for long periods as this can cause moisture buildup. A breathable cotton bag is a better option.
Regular Maintenance
- Fluff and reshape the jellyfish regularly to maintain its form.
- If it has safety eyes or other attachments, check them periodically to ensure they’re still secure.
Refresh the Toy: If the jellyfish becomes a bit limp or misshapen over time, a quick wash and dry following these instructions can rejuvenate it.

A Quick Recap
This article provided a comprehensive guide to creating and caring for a crochet jellyfish, ideal for beginners and seasoned crocheters alike.
It covered essential aspects such as choosing the suitable yarn, the required amount, and basic crochet stitches and techniques. Safety considerations for making a baby-friendly jellyfish and tips and tricks to avoid common crochet mistakes were highlighted.
article also delved into creative ideas for personalizing the jellyfish, adding style and character. Finally, it concluded with detailed washing and care instructions to ensure the longevity and durability of the crochet jellyfish, making it a cherished handmade item.
Frequently Asked Questions
What Kind Of Yarn Do I Need To Make A Jellyfish Crochet?
As with most crochet patterns, yarn choice depends on a few key factors. One of these factors is personal preference in general, but another relates to what kind of look you want for your crocheted jelly friend!
If you want a thick, cuddly jellyfish crochet doll, then a thicker yarn would work better, whereas thinner parts of the pattern- the tentacles, for example- may need a finer style of yarn. Make sure you know exactly what you want from your crochet pattern before you select your yarn!
Is A Jellyfish Crochet Pattern Good For Crochet Beginners?
Yes! A fair amount of the crochet patterns on this list are suitable for beginners as the jellyfish patterns generally have a less complicated design than those of certain other animals. Jellyfish are just spongy bodies with tentacles, after all!
Their tentacles might be a bit tricky to master at first, but jellyfish are certainly a great animal to opt for if you are a crochet beginner.
Which Crochet Stitch Uses The Least Yarn?
It is a question that is frequently debated amongst the crochet community. When it comes to the simplest crochet stitches- the four basic stitches being treble crochet, double crochet, half-double crochet, and single crochet- the double crochet stitch and the treble crochet stitch tend to use the least yarn, but this can vary.
Experiment with different stitches for yourself and see your results regarding yarn usage.
Can I Crochet A Jellyfish With Chunky Yarn?
You can use chunky yarn for a more enormous, plushier jellyfish. Remember to adjust your hook size accordingly and expect a larger finished product.
How Long Does It Take To Crochet A Jellyfish?
It can vary depending on your skill level and the size of the jellyfish, but a medium-sized jellyfish might take a few hours to a couple of days to complete.
Are There Any Special Stitches Needed For Crocheting A Jellyfish?
While basic stitches are primarily used, some patterns might include special stitches for textural details. Always read the pattern beforehand to understand any unique stitch requirements.
How Do I Choose The Right Hook Size For My Crochet Jellyfish?
The hook size should match the weight of your yarn. A hook size of 4.5-5.5 mm is commonly used for medium-weight yarn. The yarn label usually suggests an appropriate hook size.

- 25 Delightful Crochet Jellyfish Patterns For Sea Lovers - April 17, 2024
- 75 Free Lovely Crochet Sweater Patterns (With Pictures) - February 9, 2024
- 50 Free Crochet Blanket Patterns For A Cozy Home - January 22, 2024