

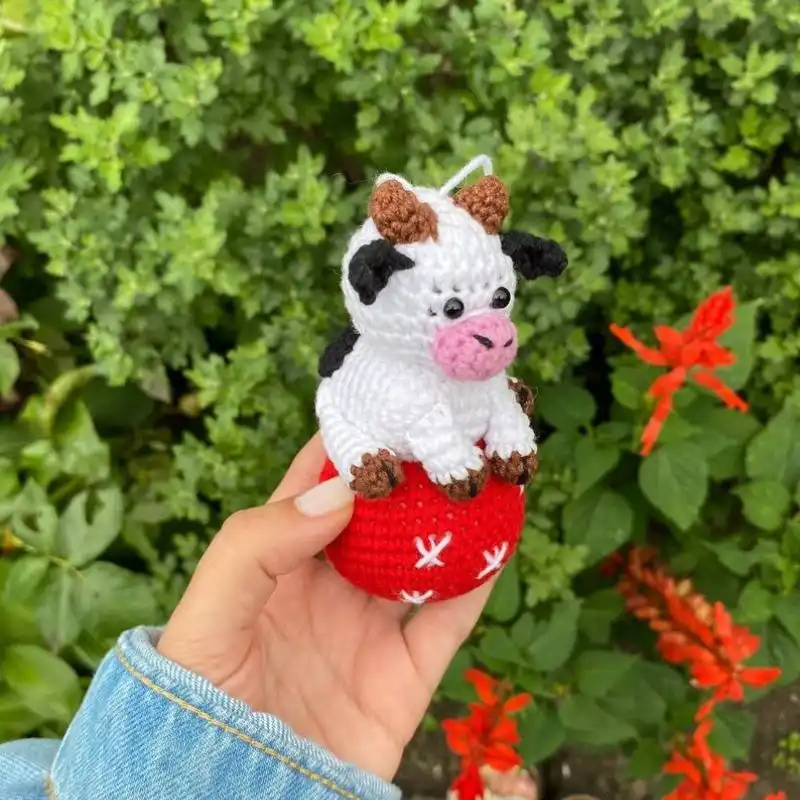
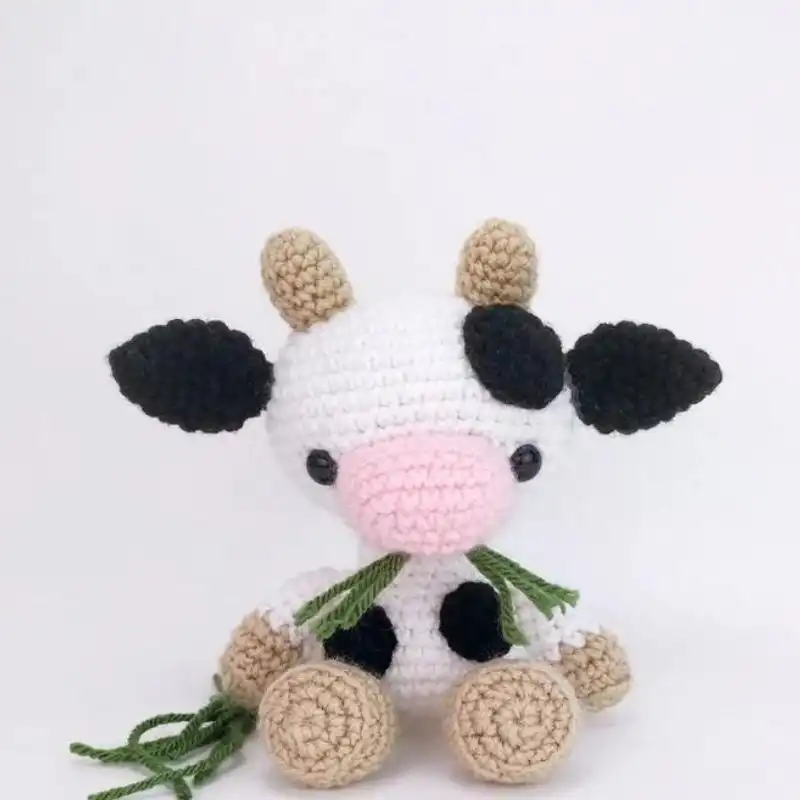
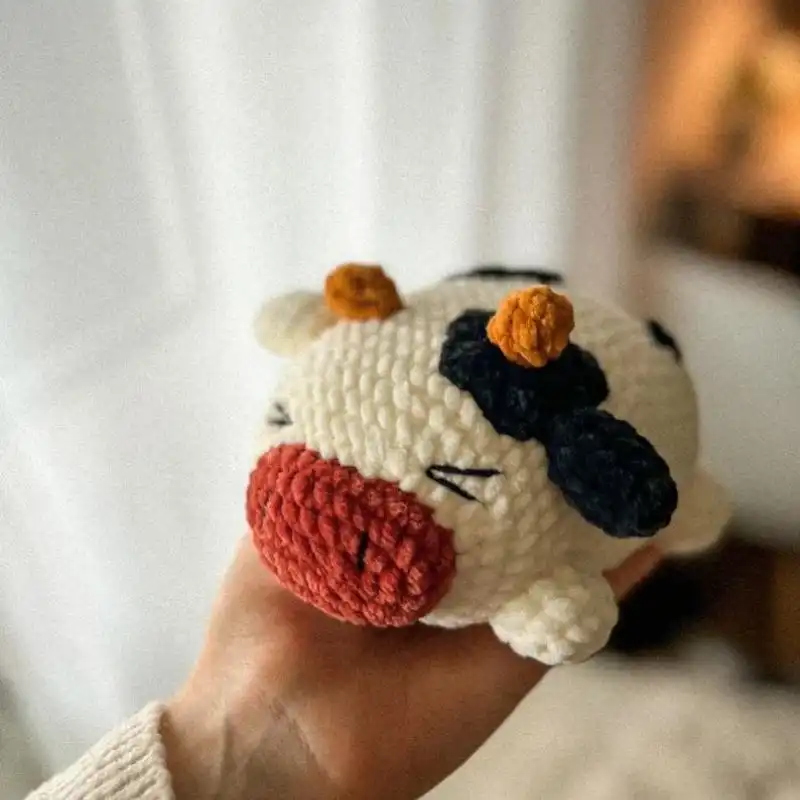
Do you enjoy crocheting? Create one of these adorable cow crochet designs for a fantastic little gift or a sweet baby gift for a boy or girl.
A lovely handmade cow would make a great baby present for anybody who adores cows or has a farm theme in their home. It would also be ideal for a gender-neutral nursery.
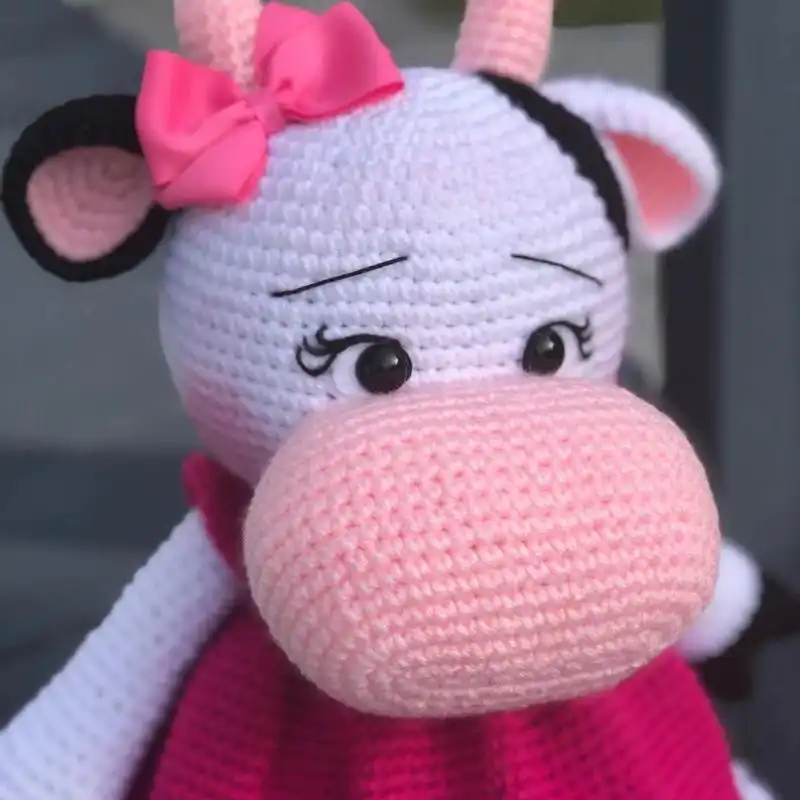
There are numerous cow toy crochet designs to select from, including amigurumi plush toys, tea cosies, and soft blankets. So, what are you waiting for? Let’s get moo-ving!
Is It Worth Crocheting An Amigurumi Cow?
Crocheting an Amigurumi cow is worth it, especially for those who enjoy crafting unique, handmade items. This project offers a delightful blend of creativity and skill, creating a charming and personalized piece.
Amigurumi, a Japanese art form, involves crocheting small, stuffed yarn creatures, and a cow crafted in this style is whimsical and adorable. It’s an excellent way to practice and refine crochet techniques, including working in the round and creating 3D shapes.
Whether for personal enjoyment, as a thoughtful gift, or as a cute addition to home decor, an Amigurumi cow is a rewarding and enjoyable project.
Various Stitches To Crochet A Cow
Crocheting a cow involves a variety of stitches, each contributing to the project’s overall texture, shape, and detail. Here are some fundamental stitches and techniques you might use:
- Chain Stitch (ch): The foundation of most crochet projects, used to begin rows or add space within a pattern.
- Slip stitch (sl st): Combining stitches, finishing edges, or creating small surface details.
- Single crochet (sc): A basic stitch that creates a dense, tight fabric, perfect for the main body of the cow to keep the stuffing inside.
- Half Double crochet (hdc): Slightly taller than single crochet, this stitch adds a bit of height and texture. It can be used for larger body parts or for creating a smoother transition between shapes.
- Double Crochet (DC): Used for larger, more open sections of the project. It’s taller and creates a looser fabric for parts like the cow’s ears or underbelly.
- Magic Ring (or Magic Circle): A technique to start amigurumi projects. It allows you to crochet a tight circle, ideal for starting the head or body, ensuring no hole in the center.
- Increase (inc): A method of adding stitches to a row to expand the size of your work. In amigurumi, this helps shape the cow, like widening the body or head.
- Decrease (dec): The opposite of an increase, it reduces the number of stitches in a row. It is essential for shaping, such as tapering the cow’s legs or tail.
- Front Loop Only (FLO) and Back Loop Only (BLO): Crocheting into only one stitch loop can create ridges or a directional texture, helpful in detailing like the cow’s hair or hooves.
- Bobble Stitch: This decorative stitch creates a textured, raised bump. It’s great for adding details like the cow’s spots or nose.
- Surface Slip Stitching: Used for adding decorative lines or details on the surface of your crochet work, like the cow’s facial features or patterns on the body.
How Long Should A Cow Be?
When crocheting a cow, the size can vary greatly depending on the pattern, yarn weight, and hook size used. Here’s a general guide to the various sizes and how long a crocheted cow can be:
- Mini or Tiny Size: These are often crocheted with fine yarn and a small hook (e.g., 2.5mm to 3.5mm). These cows can range from 2 to 4 inches in length. They are perfect for keychains, charms, or small desk ornaments.
- Small Size: Using a light to medium-weight yarn and a hook size around 3.5mm to 4.5mm, small-sized cows can range from 4 to 6 inches in length. They make great gifts for children or can be used as cute home decor.
- Medium Size: With a medium to bulky yarn and a hook size of 5mm to 6mm, medium-sized cows are typically about 7 to 10 inches long. These are ideal for cuddly toys or decorative pieces in a child’s room.
- Large Size: Using bulky or super bulky yarn and a larger hook (6.5mm and up), large cows can be anywhere from 11 to 18 inches long. They make excellent plush toys, big enough for cuddling and playing.
- Extra-Large or Jumbo Size: Created with jumbo yarn and correspondingly large hooks, these cows can exceed 18 inches, sometimes reaching up to 2 feet or more. They are often used as statement pieces or oversized toys.
Essential Tools And Materials
Glossary Of Crochet Stitches And Techniques
- Chain Stitch (ch): The most basic stitch in crochet, used to begin patterns or as a spacer between stitches.
- Slip stitch (sl st): A method of joining stitches together, often used to end a round or to move the yarn to another part of the piece without adding height.
- Single crochet (sc): A basic stitch that forms a tight, dense fabric.
- Half Double crochet (hdc): A stitch taller than a single crochet but shorter than a double crochet.
- Double Crochet (DC): A taller stitch that creates a looser fabric than a single or half double crochet.
- Treble Crochet (tr): A tall stitch that creates a more open and airy fabric.
- Magic Ring or Circle: A technique used to start amigurumi or other projects worked in the round, allowing you to pull the center tight.
- Increasing (inc): Adding stitches to a row or round, used to shape the crochet piece.
- Decreasing (dec): Combining stitches to reduce the number of stitches used for shaping.
- Front Loop Only (FLO) and Back Loop Only (BLO): Crocheting into only one stitch loop, either the front or back, to create texture or ribbing.
- Yarn Over (yo): The action of wrapping yarn over the crochet hook, a fundamental part of many stitches.
- Turning Chain: Chains made at the beginning of a row to bring the yarn up to the level needed for the next row.
- Gauge: The number of stitches and rows per inch is vital for ensuring the finished piece is the correct size.
- Bobble Stitch: A textured stitch that works multiple double crochets into the same stitch and then joins them at the top.
- Popcorn Stitch: Similar to the bobble stitch, but worked by removing the hook and reinserting it into the first stitch of the group.
- Cluster Stitch: A group of incomplete stitches worked together in the same stitch or space.
- Picot: A small loop or decorative point made by chaining and then slip stitching in an earlier chain.
- Shell Stitch: A decorative stitch creating a shell or fan shape, often used in borders.
- Granny Square: A popular crochet motif created by creating a series of rounds from the center out.
- Foundation Chain: The initial series of chain stitches to begin a project.
- Fasten Off: Finish the work so it doesn’t unravel.
Understand Crochet Stitches & Techniques
As an experienced crocheter, I understand that grasping crochet stitches and techniques can initially seem daunting. My essential advice is to start simple. Begin with basic stitches like the chain and single crochet.
Practice them until you’re comfortable, then gradually introduce new stitches like the double and half double crochet. Pay close attention to diagrams and follow along with video tutorials for visual guidance.
Remember, each stitch is a variation of looping and pulling yarn with your hook. Experiment with different yarns and hooks to see how they affect the stitches. Most importantly, be patient and enjoy the learning process!
RELATED: 41 Free Quick And Easy Crochet Borders [2 Rows Only]
Which Yarn Is Best To Crochet A Cow?
As a seasoned crocheter who has worked on numerous projects, including adorable cows, I can share some insights on the best yarns for such a project.
Firstly, Acrylic Yarn is a popular choice. It’s affordable, widely available, and comes in various colors. It’s also durable and easy to care for, making it ideal for toys needing frequent washing.
Cotton Yarn is another great option, especially for those who prefer natural fibers. It’s soft, sturdy, and doesn’t stretch much, which is excellent for maintaining the shape of the cow.
For a luxurious touch, Wool Yarn or wool blends can be used. Wool is warm, soft, and has a lovely natural look. However, it can be more expensive and require more delicate care.
Chunky Yarns can be fun to work with if you aim for a larger, cuddlier cow. They make the crocheting process quicker and create a plush, cozy texture.
For beginners, I recommend sticking with medium-weight yarns like worsted or aran, as they are easier to handle and work well with various hook sizes.
How Much Yarn Do I Need To Crochet A Cow?
As someone who has crocheted various animals, including cows, I can tell you that the amount of yarn needed can vary based on several factors. A standard-sized Amigurumi cow, approximately 6 to 8 inches tall, typically needs around 100 to 150 yards of your primary color.
If your cow design includes multiple colors, like for the spots, hooves, and ears, you’ll need additional smaller amounts of each color, maybe around 20 to 50 yards each.
The yarn weight and the hook size also play a crucial role. Using a thicker yarn and a larger hook will result in a bigger cow, thus requiring more yarn.
Conversely, a thinner yarn with a smaller hook will need less. It’s always a good idea to have extra yarn on hand, just in case. Patterns usually specify the amount of yarn needed, so refer to that for a more accurate estimate. These are general guidelines; personal tension and style might slightly alter the yarn quantity.
Is It Beginner-Friendly?
As an experienced crocheter, I’d say crocheting a cow can be beginner-friendly, depending on the pattern chosen. Simple cow patterns using basic stitches like single crochet, increases, and decreases are accessible for beginners.
Amigurumi, the art of crocheting stuffed animals, often starts with basic shapes and techniques, making it a fun project for those new to crochet. It’s essential to start with an easy pattern and take your time with the learning process.
With patience and practice, even a beginner can create a cute, crocheted cow and enjoy the rewarding experience of bringing a little yarn creature to life.
How To Crochet A Beginner-Friendly Cow?
Skill Level: Beginner
Materials
- Medium-weight yarn (e.g., Worsted or Aran)
- Crochet hook (size typically 4.0 – 5.5 mm)
- Stuffing material (polyester fiberfill)
- Yarn needle
- Stitch markers
- Safety eyes (optional; can also use yarn to embroider eyes)
- Scissors
Essential Stitches/Techniques Needed
- Chain stitch (ch)
- Slip stitch (sl st)
- Single crochet (sc)
- Increase (inc)
- Decrease (dec)
- Magic ring
Instructions
Head and body (worked as one piece)
- Start with a magic ring.
- Round 1: 6 sc in magic ring.
- Round 2: Inc in each stitch around (12 sc).
- Round 3: [Sc in next stitch, inc in next stitch] around (18 sc).
- Continue increasing in this pattern until you reach a comfortable size for the head.
- Work several rounds without increasing to form the head.
- Begin decreasing gradually to form the neck.
- After the neck, it starts increasing again to form the body.
- Work straight rounds to lengthen the body.
- Finish by decreasing to close the body. Fasten off.
Legs (make 4)
- Start with a magic ring.
- Round 1: 6 sc in magic ring.
- Round 2: Inc in each stitch around (12 sc).
- Work straight rounds to achieve the desired leg length.
- Fasten off, leaving a long tail for sewing.
Ears (make 2)
- Chain 4-6 stitches (depending on desired ear size).
- Starting from the second chain from the hook, work 1 sc in each chain.
- Fasten off, leaving a long tail for sewing.
Tail
- Chain a small length (about 10-15 chains).
- Work a few sc along the chain.
- Fasten off, leaving a long tail for sewing.
Assembly
- Stuff the head and body.
- Sew the legs to the body.
- Attach the ears and tail.
- Add safety eyes or embroider the eyes with yarn.
- Use additional yarn colors to embroider or crochet and attach spots, facial features, etc.
Finishing Touches
- Weave in any loose ends with a yarn needle.
- Optionally, add more details like a bell or a bow.
Tips
- Keep your stitches tight to prevent the stuffing from showing.
- Use stitch markers to mark the beginning of each round.
- Take your time with assembly to ensure your cow has a neat, finished look.
20 Cow Crochet Patterns
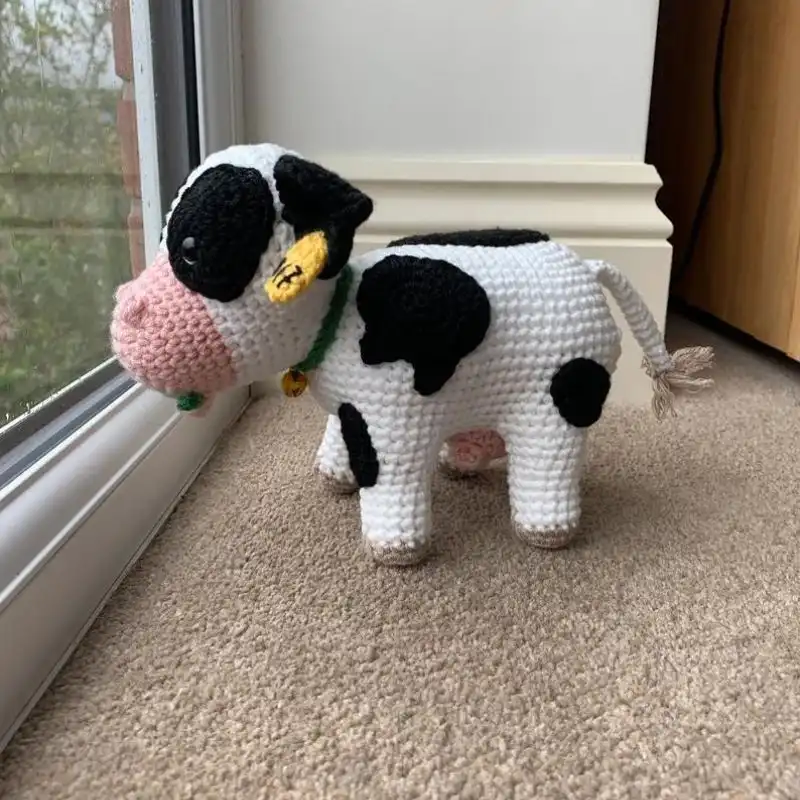
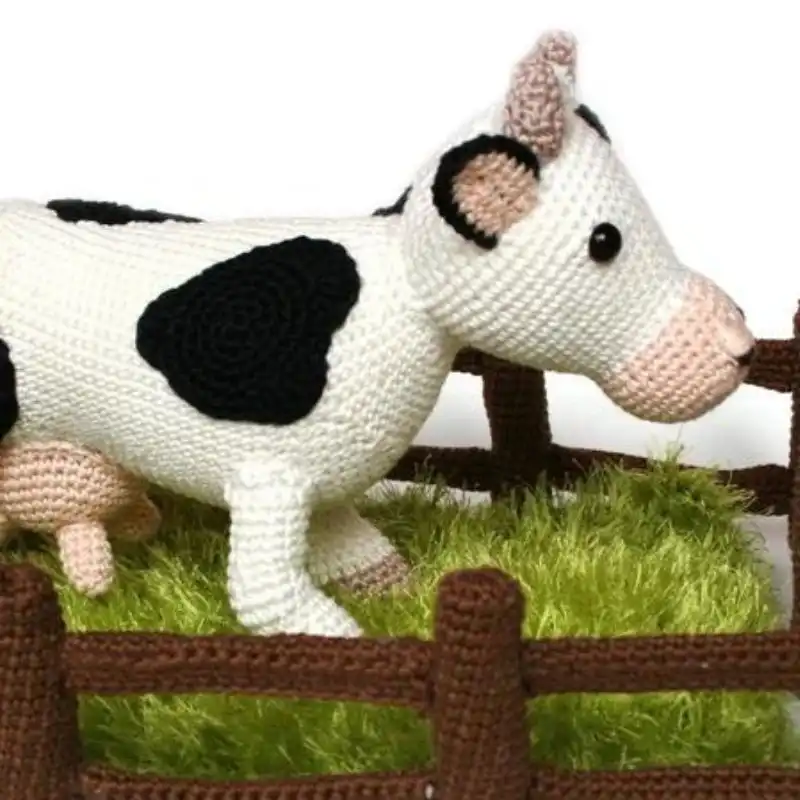
1.Crochet Pattern – Cow
The first pattern we’d like to mention is this traditional-style amigurumi cow crochet pattern from MyKrissieDolls on Etsy. The finished pattern is a perfect and realistic-looking cow plush toy.
You can make it with either black or brown spots – or maybe both! Your finished cow toy will measure approximately 14 inches tall when sitting.

Suggested Yarn: Red Heart Super Saver
Difficulty Level: Beginner
Yarn Weight: Worsted
Crochet Hook: 5.0 mm
2.Crochet Highland Cow Trophy Head
Next is this funny and unique highland cow trophy head-style crochet pattern.
You can make your very own faux highland cow head. It makes for a great conversation piece and will stand out in almost any home space.
It even has a separate pattern for a long, curly cow tongue – so cute!
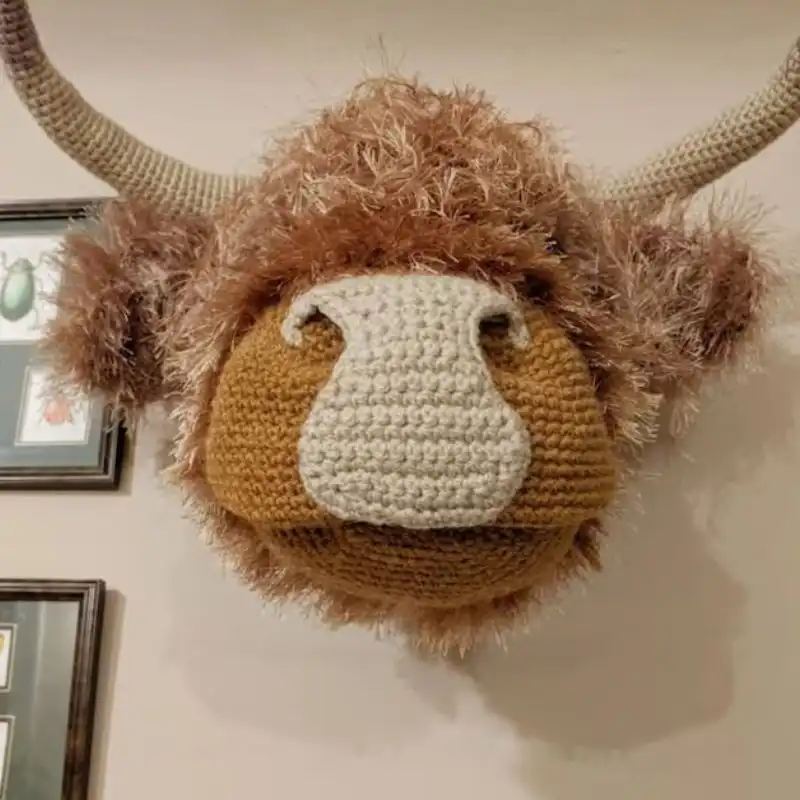
Suggested Yarn: Lion Brand Vanna's Choice
Difficulty Level: Intermediate
Yarn Weight: Super Bulky
Crochet Hook: 8.0 mm
3.Crochet Cow Doorstop Pattern
We’re obsessed with this cow doorstop pattern, and we think you will, too! A novelty doorstop makes for a great housewarming present.
Using this unique pattern, you can make your standing cow doorstop with small yellow horns, big pink udders, and crazy crossed eyes.
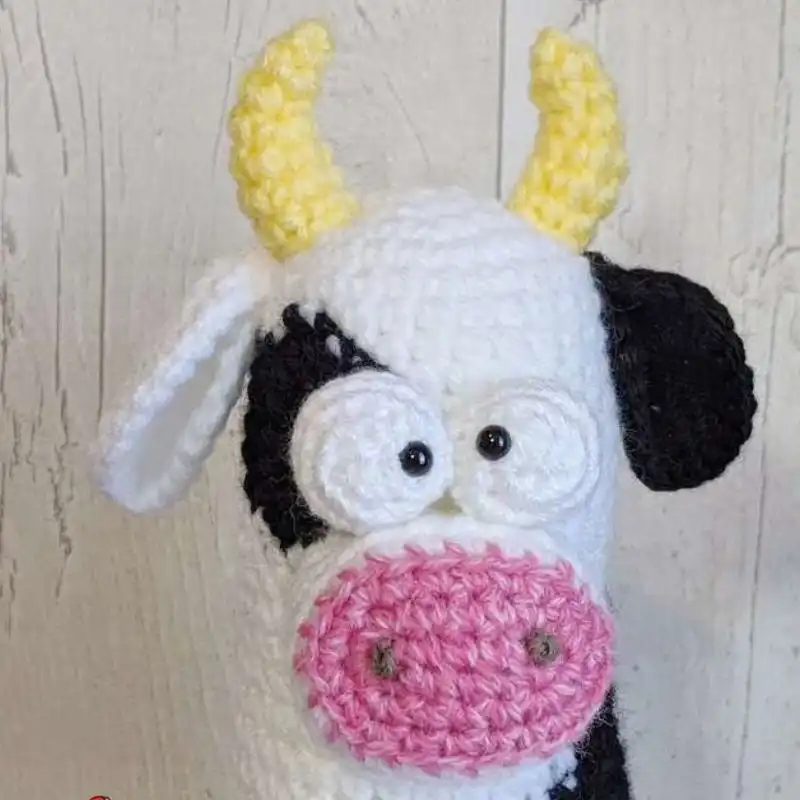
Suggested Yarn: Bernat Handicrafter Cotton
Difficulty Level: Intermediate
Yarn Weight: Worsted
Crochet Hook: 5.5mm
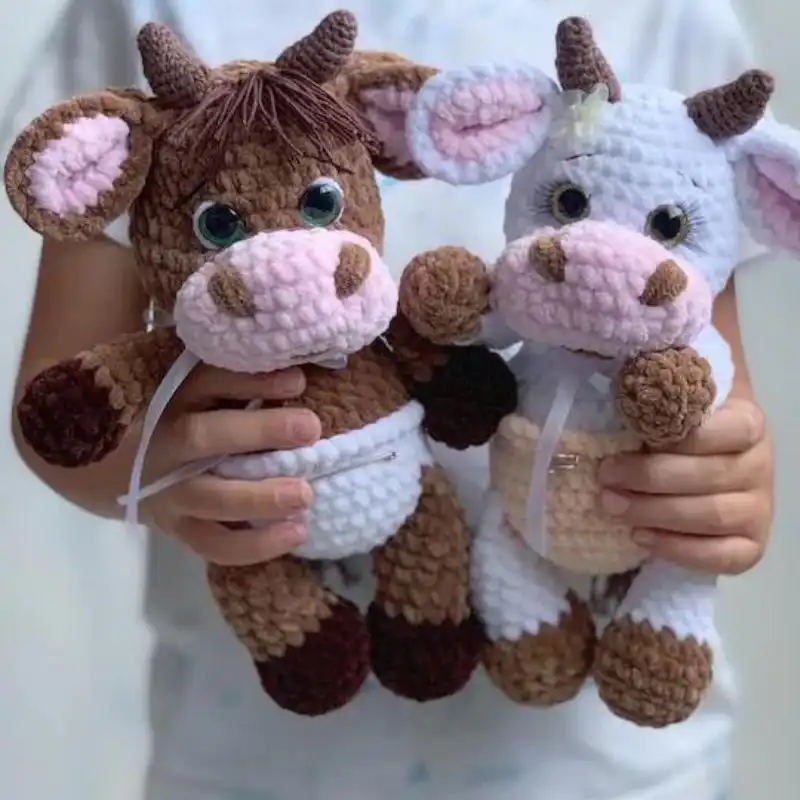
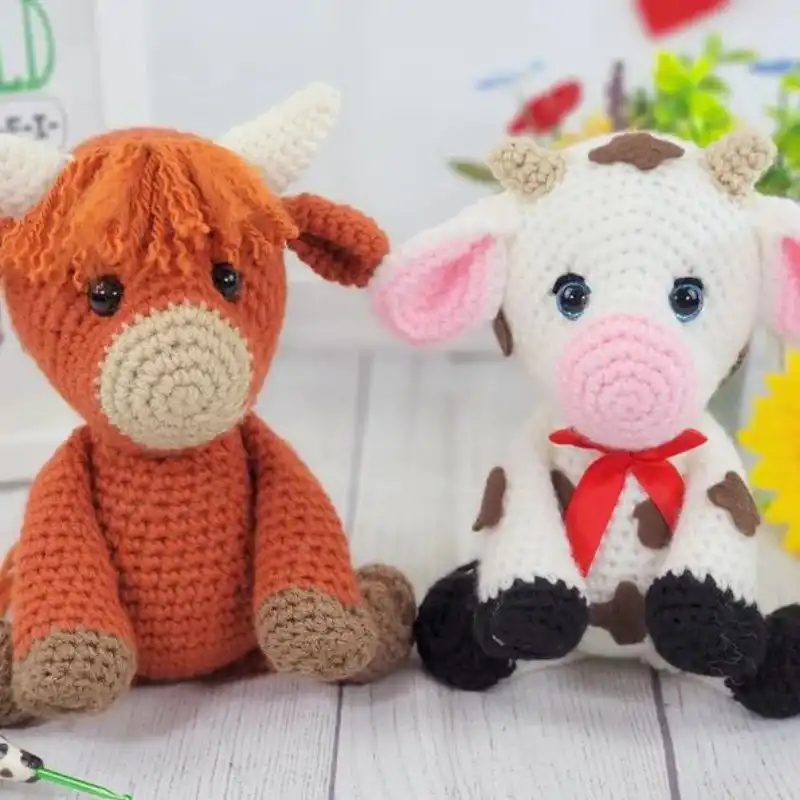
4.Baby Cow And Baby Bull
Delight in the charm of the farm with the Baby Cow and Baby Bull crochet pattern. Craft these adorable amigurumi cows for a cuddly and sweet addition to your crochet collection, perfect for farmyard-themed play.
Add a touch of whimsy to your crochet repertoire with the Sunflower Cow with Honey Bag pattern. This delightful amigurumi features a cow adorned with a sunflower, spreading joy and sweetness wherever it goes.
Suggested Yarn: Scheepjes Catona
Difficulty Level: Intermediate
Yarn Weight: Fingering
Crochet Hook: 3.0 mm
5.Boho Cow Applique Crochet Pattern
This cow has an adorable sunflower design on its head, making it perfect for throwing blankets or used as a nursery decoration.
It is also one of the most affordable cow crochet patterns on this list, so what are you waiting for? Get started and make your own today!
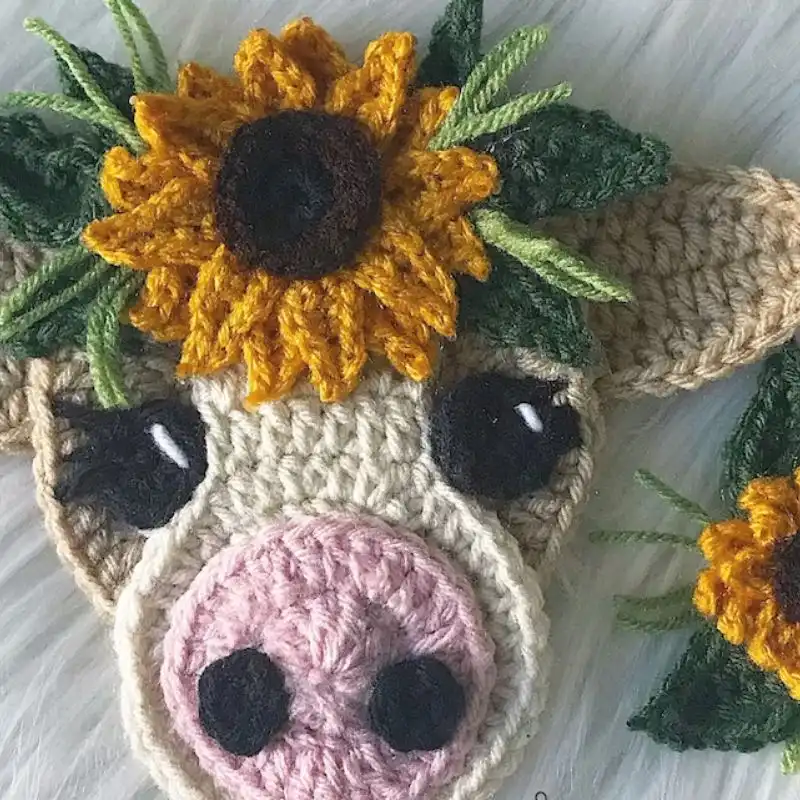
Suggested Yarn: Stylecraft Special DK
Difficulty Level: Beginner
Yarn Weight: Light Worsted
Crochet Hook: 4.0 mm
6.Halloween Crochet Cow
Celebrate Halloween with a twist of farmyard fun using the Halloween Crochet Cow pattern. Craft a spooktacular amigurumi cow, combining the barnyard’s charm with the Halloween season’s excitement.
Suggested Yarn: Bernat Handicrafter Cotton
Difficulty Level: Intermediate
Yarn Weight: Worsted
Crochet Hook: 5.0 mm
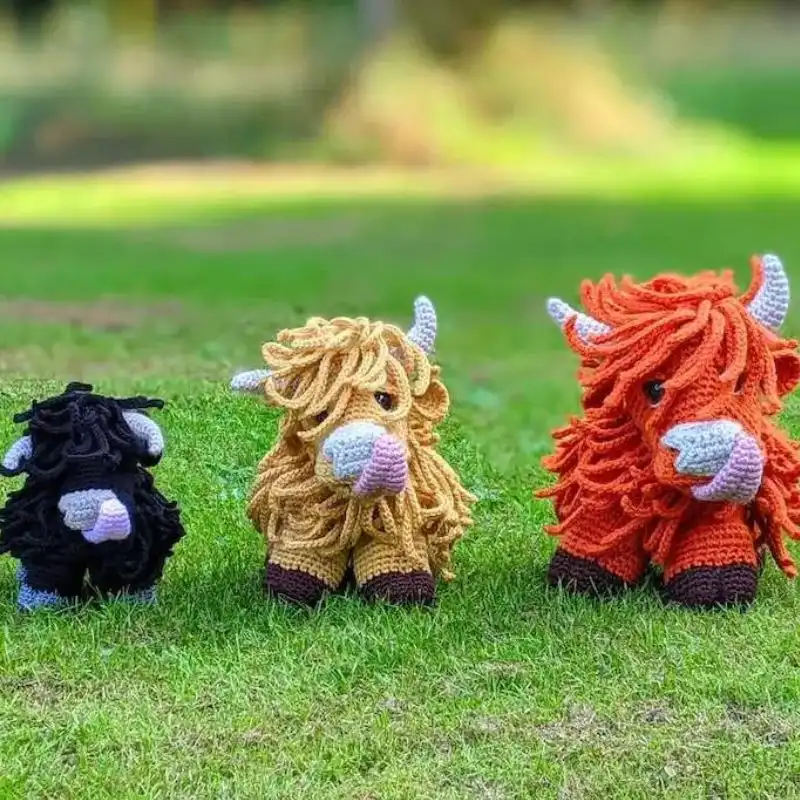
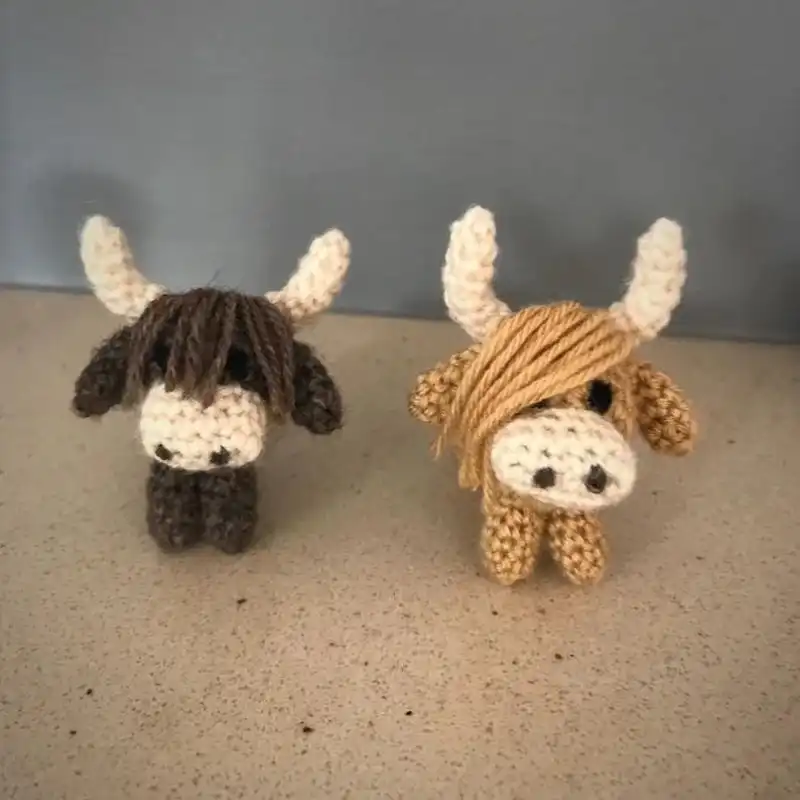
7.Crochet Highland Cow
Highland cows are some of the world’s most beloved animals, and it’s easy to see why!
Their massive fluffy bodies and goofy long tongues make them irresistibly cute, making them the perfect animals to stitch for your next crochet project!

Suggested Yarn: Lion Brand Hometown USA
Difficulty Level: Intermediate
Yarn Weight: Super Bulky
Crochet Hook: 8.0 mm
8.2in1 Crochet Pattern Cute Cows
Look no further if you’re searching for the perfect amigurumi crochet cow pattern! This pattern from rinmeow21 on Etsy is a great choice and super affordable!
The second design is a pink cow complete with a cross-body ice cream-inspired bag – so adorable!
Suggested Yarn: Paintbox Yarns Simply Aran
Difficulty Level: Beginner
Yarn Weight: Aran
Crochet Hook: 4.0 mm
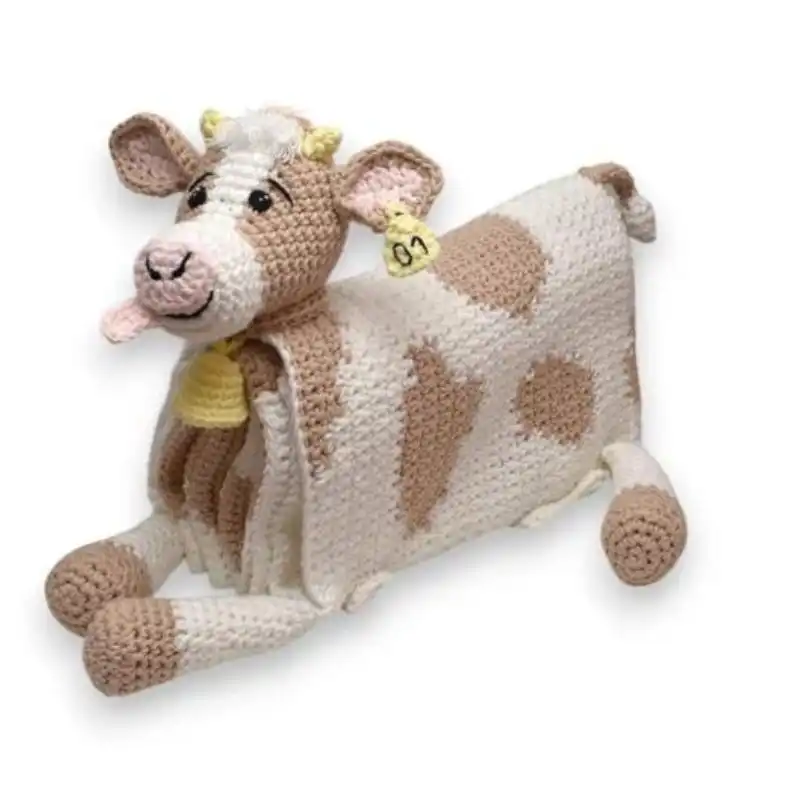
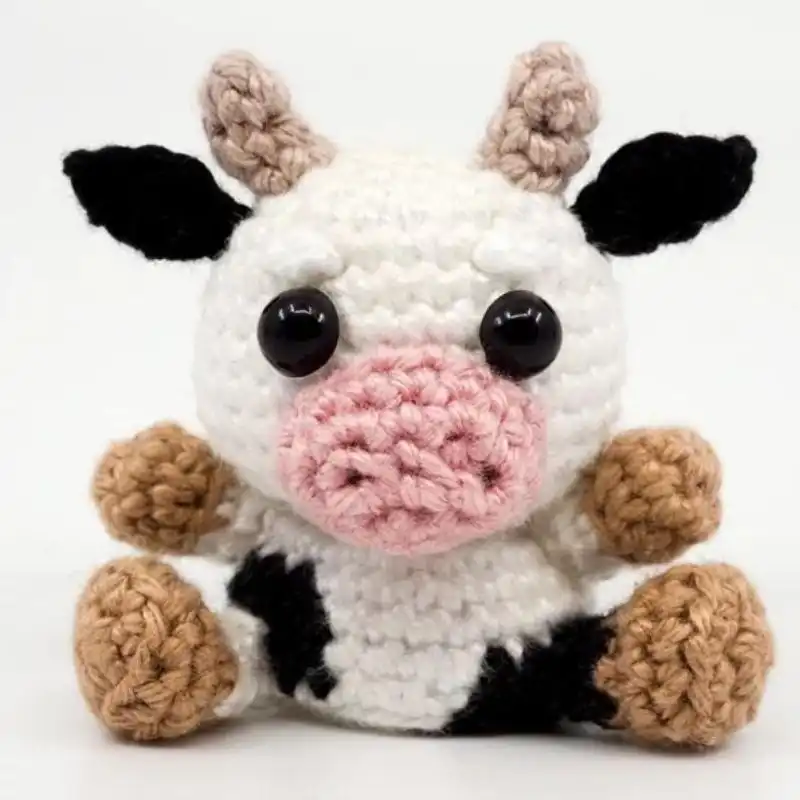
9.Cow With Calf Crochet Pattern
The adult cow’s body includes an interior compartment that opens to show the young calf inside!
This 18-page template guides the cow and her baby and additional accessories like an ear tag and a stalk of grass for her to munch.
Suggested Yarn: Red Heart Super Saver
Difficulty Level: Intermediate
Yarn Weight: Worsted
Crochet Hook: 5.5mm
10.Cow Baby Blanket Crochet Pattern
This crochet design is adaptable. Create this cow crochet baby blanket with dots, and then use the same baby blanket crochet design to make a white calf with no patches and no color work.
The Baby Blanket is changeable and crocheted with the graphghan technique.
Suggested Yarn: Bernat Pipsqueak
Difficulty Level: Intermediate
Yarn Weight: Bulky
Crochet Hook: 6.5 mm
11.Flying Saucer With Cow Crochet Pattern
Create your own Flying Saucer melodic tug toy with this unique Crochet Pattern — complete with kidnapped bovine and quirky charming Alien Amigurumi.
The crochet template is simple to grasp and appropriate for novices.

Suggested Yarn: Red Heart Super Saver
Difficulty Level: Intermediate
Yarn Weight: Worsted
Crochet Hook: 5.0 mm
12.Crochet Cow Tutorial
Look no further if you’re looking for a traditional cow crochet pattern. This design made by SweetOddityArt on Etsy is an excellent choice for beginners, and it’s even one of the cheapest crochet patterns we’ve included on this list.
Once completed, each toy will measure approximately 8 inches from head to toe, making it ideal for a newborn baby gift or a toddler’s bedtime cuddle companion. Get started today!
Suggested Yarn: Lion Brand Vanna's Choice
Difficulty Level: Beginner
Yarn Weight: Worsted
Crochet Hook: 5.0 mm
13.Mini Cow Crochet Pattern | Amigurumi Pattern
If you’re new to the art of crochet and want to take on a smaller project to get you started, this is the perfect cow crochet pattern for you!
This pattern gives you everything you need to make your mini amigurumi cow crochet pattern, perfect for Christmas hanging decorations or even keychains.
Suggested Yarn: Scheepjes Catona
Difficulty Level: Intermediate
Yarn Weight: Fingering
Crochet Hook: 2.5 mm
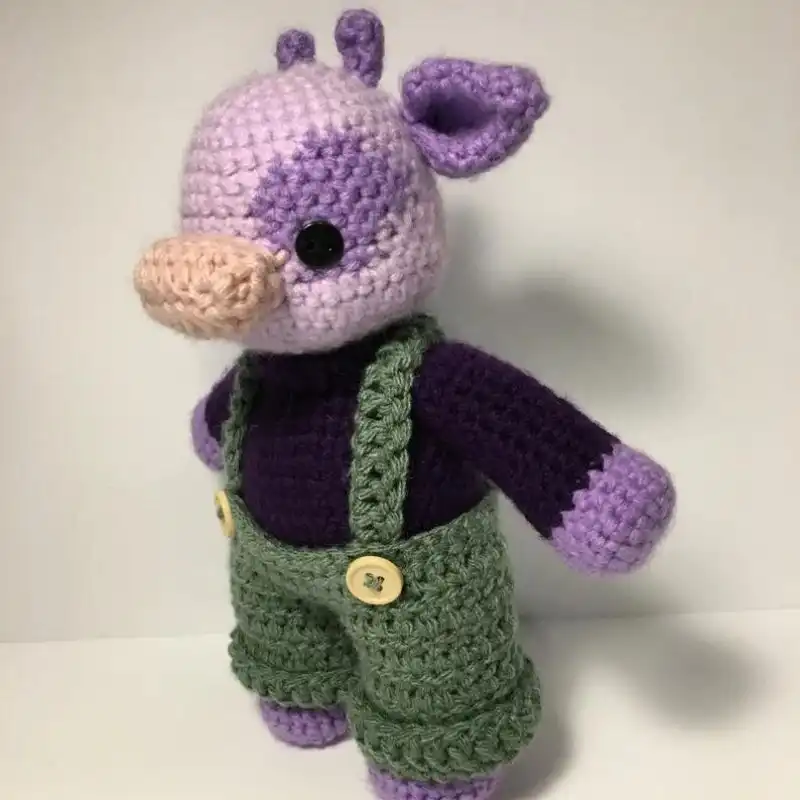
14.Lavender Cow Crochet Pattern
We couldn’t list the best cow crochet patterns without including this adorable lavender cow pattern created by AmigurumiByRuby on Etsy.
The finished product is a small cow plush toy sporting khaki-colored dungarees and a black long-sleeved shirt. The cow itself is purple, hence the lavender part.
Suggested Yarn: Paintbox Yarns Simply Aran
Difficulty Level: Beginner
Yarn Weight: Aran
Crochet Hook: 5.0 mm
15.Amigurumi Cow Crochet Pattern
If you use woolen yarn with a 3.0 mm crocheting needle, the cow spans 16 cm (6 inches) in the sitting posture and 25 cm (9.5 inches) altogether (from horns to feet).
This pattern is intended for people already familiar with the basics of crochet. To create this toy, you should be acquainted with fundamental crochet techniques like single crochet, increase and decrease, etc.
Suggested Yarn: Red Heart Super Saver
Difficulty Level: Intermediate
Yarn Weight: Worsted
Crochet Hook: 4.0 mm
16.Chloe The Cow – Crochet Cow Pattern
Say hello to Chloe the Cow! If you assumed cows were lazy animals who just worried about eating. When it comes to Chloe, you’d be correct. Chloe is only interested in one thing: grass!
You can make your cute cow in just a couple of hours! Only basic crocheting abilities, such as chaining, single crocheting, increasing, and reducing, are required.
Suggested Yarn: Bernat Softee Chunky
Difficulty Level: Beginner
Yarn Weight: Bulky
Crochet Hook: 6.5 mm
17.Bertha The Cow Crochet Pattern
If you’re looking for a crochet pattern that is a little more detailed than the standard amigurumi-style plush toys, then look no further! The final product will measure approximately 7.1 inches x 9.8 inches.
This pattern isn’t suitable for beginners, and you’ll need some basic understanding of crochet stitches before starting.
Suggested Yarn: Lion Brand Vanna's Choice
Difficulty Level: Intermediate
Yarn Weight: Worsted
Crochet Hook: 5.0 mm
18.Lilia The Little Cow
Meet Lilia, the Little Cow, through this charming crochet pattern. Create a pocket-sized amigurumi cow companion with a big heart, perfect for gifting or as a delightful addition to your crochet menagerie.
Suggested Yarn: Lion Brand Vanna's Choice
Difficulty Level: Intermediate
Yarn Weight: Worsted
Crochet Hook: 5.5mm
19.Miniature Highland Cow Crochet Pattern
This charming small highland cow stands about 6-7cm tall. The size will differ according to the kind of wool and needle size used. This amigurumi is ideal for beginner/intermediate-grade crocheters, Crocheted using fundamental crochet stitches and concepts.
Suggested Yarn: Lion Brand Vanna's Choice
Difficulty Level: Intermediate
Yarn Weight: Worsted
Crochet Hook: 4.0 mm
20.Chubby Cow Amigurumi
Experience the cuteness overload with the Chubby Cow Amigurumi crochet pattern. Craft a plump and huggable cow friend that brings joy and smiles, making it an adorable and squeezable addition to your amigurumi collection.
Suggested Yarn: Red Heart Super Saver
Difficulty Level: Intermediate
Yarn Weight: Worsted
Crochet Hook: 4.0 mm
Do’s & Don’ts To Crochet A Safe Cow
Do’s
- Use Safe Materials: Use baby-friendly yarn like soft, non-irritating cotton or acrylic. Ensure the yarn is washable and durable.
- Tight Stitches: Crochet tightly to prevent stuffing from being pulled out, which could pose a choking hazard.
- Soft Stuffing: Use hypoallergenic, washable stuffing to ensure it’s safe and won’t cause allergies.
- Secure Attachments: Ensure that all parts (ears, tail, eyes) are securely attached. Double-check that there are no loose parts.
- Embroidered Features: Instead of using plastic eyes or buttons, embroider eyes and other features with yarn to eliminate choking risks.
- Regular Inspection: Regularly inspect the toy for wear and tear to prevent small parts from becoming loose.
- Washable: Make sure the final product is easy to clean. Babies often put toys in their mouths, so being able to wash the toys is crucial.
Don’ts
- Avoid Small, Hard Attachments: Don’t use beads, buttons, or safety eyes, as they can be choking hazards for babies.
- Don’t Use Delicate Yarns: Avoid delicate yarns that can quickly unravel or have a hairy texture, as they can be pulled out and ingested.
- Avoid Fragile or Sharp Parts: Don’t incorporate elements that can break or have sharp edges.
- Don’t Use Loose Filling: Avoid using materials like beans or pellets for stuffing, as they can be a choking hazard if the toy is torn.
- Don’t Compromise on Quality: Don’t use old or low-quality materials that may not be durable or safe for a baby.
- Don’t Ignore Cleaning Instructions: Avoid using materials that can’t be washed or have specific care instructions unsuitable for baby toys.
- Don’t Use Complex Designs: Avoid overly intricate designs with small, detachable parts that can pose a risk.
Tips & Tricks To Avoid Crochet Mistakes
Creating a perfect crochet cow can be a delightful project, but avoiding common mistakes is essential. Here are some tips and tricks to help you along the way:
How To Block The Crochet Cow?
Blocking is an essential finishing step in crocheting, especially for amigurumi projects like a crochet cow. It helps to shape and set your work, giving it a more professional and polished look. Here’s a step-by-step guide on how to block your crochet cow:
Prepare Your Blocking Station
- Choose a flat, water-resistant surface.
- Lay out a blocking mat or some towels on the surface.
Mix a Mild Detergent Solution (Optional): Fill a basin with lukewarm water and add a small amount of mild detergent, if desired.
Submerge the Crochet Cow
- Gently submerge your crochet cow in the water. Avoid agitating it too much to prevent felting (if wool yarn is used).
- Let it soak for 15-20 minutes to ensure the fibers are fully saturated.
Remove Excess Water
- Carefully lift the cow out of the water.
- Gently squeeze out excess water. Avoid wringing or twisting, as this can distort the shape.
- Roll the cow in a dry towel and press lightly to remove more water.
Pin the Cow to Shape
- Lay the cow on your blocking mat or towels.
- Gently shape it to the desired dimensions and form.
- Use rust-proof pins to hold the shape, especially for limbs, ears, and other detailed parts.
Allow to Dry: Leave the cow pinned until it is scorched. It can take several hours to a day, depending on the thickness of the yarn and the ambient conditions.
Remove Pins and Finish
- Once dry, carefully remove the pins.
- Your crochet cow should now hold its blocked shape.
Additional Tips
- You can use steam blocking if your cow has safety eyes or other non-washable elements. Hold a steam iron a few inches above the work and steam it lightly, shaping it as you go.
- Always check your yarn’s washing instructions before blocking.
- For acrylic yarns, steam blocking is often more effective than wet blocking.
RELATED: How To Make Crossed Stitch In Crochet With Tips For Flawless Handiwork?
Suggestions To Add Style & Personal Touch
Adding style and a personal touch to your crocheted cow can transform it from a simple project to a unique and cherished item. Here are various suggestions to infuse personality and flair into your cow:
- Color Choices: Experiment with unconventional colors beyond the typical black and white or brown. Pastels, brights, or variegated yarns can make your cow stand out.
- Texture Play: Mix yarns of different textures. Use a fluffy yarn for the head or body for a furry effect or a smooth, shiny yarn for the hooves and nose.
- Embroidery Details: Add embroidered details like flowers, stars, or unique patterns on the cow’s body to give it character.
- Custom Spots: Create unique spot patterns or shapes. Heart-shaped or star-shaped spots can be adorable.
- Accessorize: Crochet accessories like a scarf, a hat, or a bell around the neck. These can be seasonal, like a Santa hat for Christmas.
- Facial Features: Experiment with the expression of your cow. Different eye shapes or mouth stitches can change its personality from cute to cheeky.
- Interactive Elements: Add elements like a small pocket or a zipper. These can turn the cow into a tiny storage space for small items.
- Contrasting Underbelly: Crochet the underbelly in contrasting colors or textures for an exciting twist.
- Fringe or Tufts: Add fringes or tufts of yarn to mimic hair or for a sensory element, especially appealing to babies.
- Size Variation: Play with the size – make a giant cow for a floor pillow or a tiny one as a keychain.
- Name and Story: Give your cow a name and a backstory. It can be especially delightful if you gift it.
- Matching Items: Crochet matching items, like a mini blanket or a smaller version of the cow, to create a set.
- Educational Touches: For children, add elements like numbers, letters, or basic shapes to the cow’s body for an educational twist.
- Themed Cows: Create cows based on themes or occasions, like a superhero cow, a Halloween cow, etc.
Wash & Care Instructions
Proper wash and care are essential to ensure the longevity and durability of your crochet cow. Here are the instructions to keep your crocheted creation looking its best:
- Check the Yarn Label: Before washing, always refer to the yarn label for specific care instructions. Different fibers have different care requirements.
- Pre-Wash Inspection: Examine the cow for any loose ends or repairs that need to be made. Secure any loose stitches or parts before washing.
- Hand Washing: Hand washing is the gentlest option if the yarn allows. Use lukewarm water mixed with a mild detergent. Submerge the cow and gently agitate the water. Avoid scrubbing or twisting, as this can distort the shape.
- Machine Washing (If Applicable): If the yarn is machine washable, place the cow in a mesh laundry bag for extra protection. Use a gentle cycle with cold water and mild detergent.
- Rinsing: Thoroughly rinse the cow in clean water to remove all soap residues. If washing your hands, gently squeeze the water out without wringing.
- Drying: Avoid wringing out water. Instead, press the excess water out with a towel. Lay the cow flat on a dry towel in a well-ventilated area, reshaping it as needed. Avoid direct sunlight or heat sources, as this can cause shrinking or fading.
- Avoiding the Dryer: Avoid using a dryer unless the yarn label states explicitly that it is unsafe. High heat can cause shrinkage or damage.
- Regular Dusting: Between washes, dust your crochet cow with a soft brush to keep it clean and fresh.
- Storing: Store the crochet cow in a clean, dry place. Avoid damp areas to prevent mold or mildew. A cotton bag can protect it from dust.
- Avoid Harsh Chemicals: Do not use bleach or harsh chemicals, as they can damage the yarn fibers.
- Refresh Without Washing: If the cow isn’t too dirty, airing it out can refresh it.

A Quick Recap
This article explored the delightful world of crocheting cows, offering a comprehensive guide for crafters of all levels. We started with the basics, discussing the best yarns for the project and the essential tools needed. We then delved into various stitches and techniques to bring your crochet cow to life, followed by size considerations and step-by-step instructions for a beginner-friendly cow pattern.
We provided suggestions for adding personal touches and style to ensure your cow stands out. We also covered important aspects like washing and care instructions to ensure your creation lasts. Finally, we shared tips and tricks to avoid common crochet mistakes.
Whether a beginner or a seasoned crocheter, this guide offers everything you need to create your unique crochet cow. So grab your hooks and yarn, and let your creativity flow! Share your finished cows with us and inspire others to start their crochet journey.
Frequently Asked Questions
What Does It Mean When A Crochet Pattern Is “Amigurumi”?
Amigurumi is the stitching (or knitting, in some cases) of tiny figurines. The term “amigurumi” is derived from the Japanese terms “ami,” which means “to knit or crochet,” and “nuigurumi,” which means “stuffed doll.”
These humanoid creatures and dolls drew attention with their large, ludicrous heads, goofy eyes, wide smiles, and brilliant colors.
What’s The Easiest Crochet Stitch?
The simple chain stitch is among the most fundamental crochet techniques that all beginning crocheters must learn. For newbies and most crochet crafts, this stitch is the beginning point or basis for practically all sorts of crochet stitches.
Why Are Cows Sometimes Called “Coos”?
If you’ve been looking into cow crochet patterns, you’ve likely noticed some artists referring to their patterns as “coo” patterns. Coo is simply another word for a Highland Cow.
They are prevalent in the Highlands, and the word ‘coo’ signifies ‘cow’ in the old Scots dialect. Scots is an English dialect that was spoken in the Highlands for centuries.
Can I Use Bulky Yarn To Crochet A Cow?
Bulky yarn is suitable for making larger, cuddlier crochet cows, but remember it may alter the pattern’s dimensions.
Is Crocheting A Cow Suitable For Beginners?
Crocheting a cow can be beginner-friendly, especially with simple patterns and basic stitches.
How Long Does It Take To Crochet A Cow?
The time varies based on skill level and pattern complexity, but a simple cow can take a few hours to a few days.
Do I Need Special Tools For Crocheting Amigurumi Cows?
Apart from standard crochet tools, stitch markers and a yarn needle are helpful for amigurumi projects like cows.

- 30 Polo Sweater Knitting Patterns To Keep You Stylish On Every Occasion - January 1, 2024
- 21 Baby Blanket Knitting Kits To Wrap Bundle Of Joy With Love - January 1, 2024
- 15 Cashmere Knitting Kits For Fashionable Knits To Embrace Comfort And Style - January 1, 2024
